Piece #076 - SCULPTED PAINTING - Iceberg - SOLD
SOLD.
Iceberg:WDI
More description to follow.
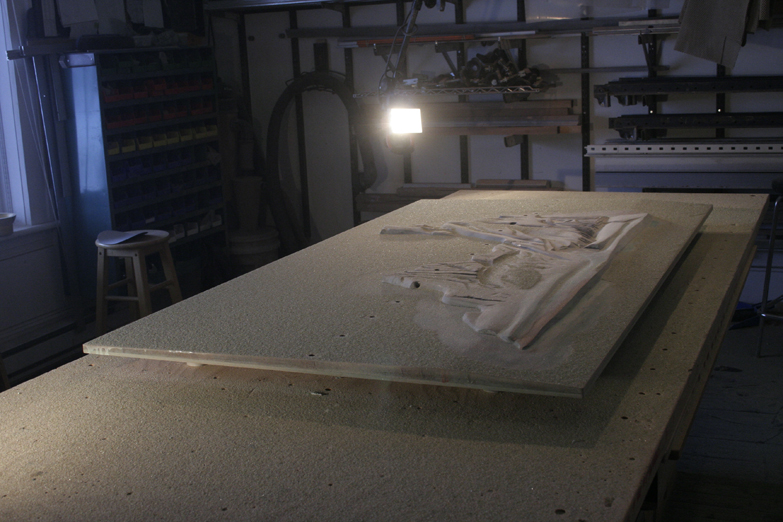
The piece will finish out at 36 × 66.
Click thumbnail to enlarge each image
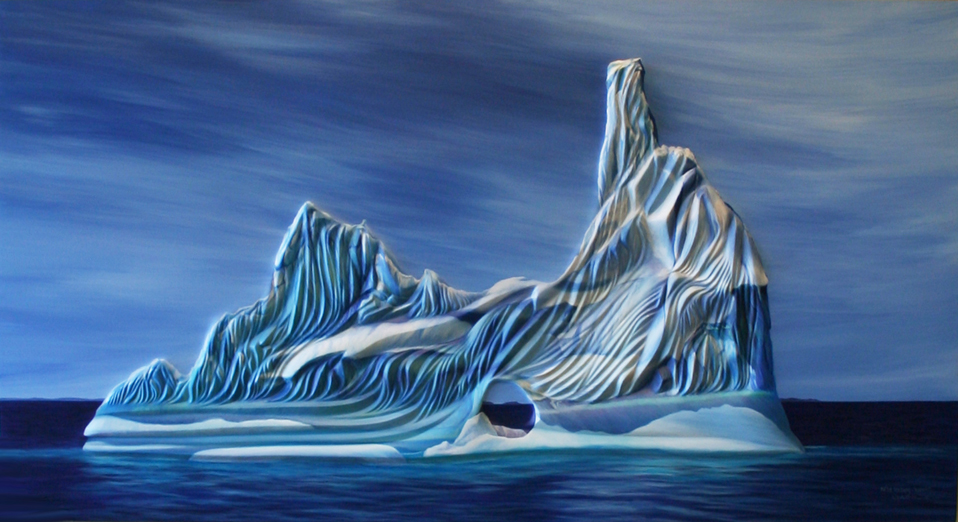
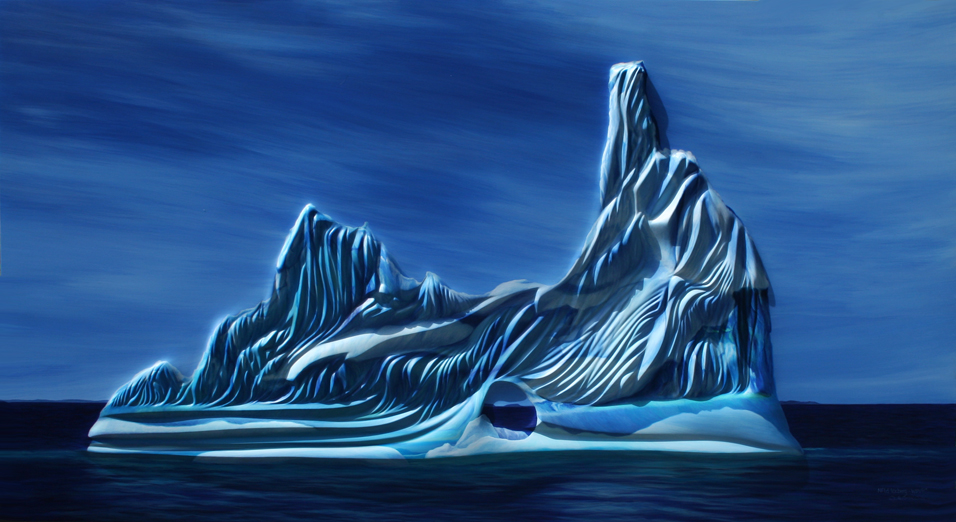
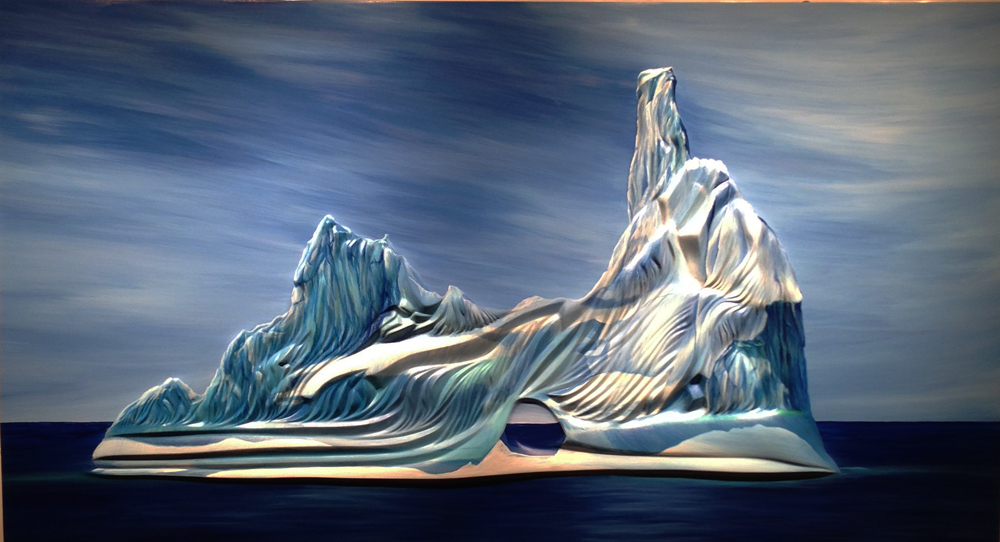
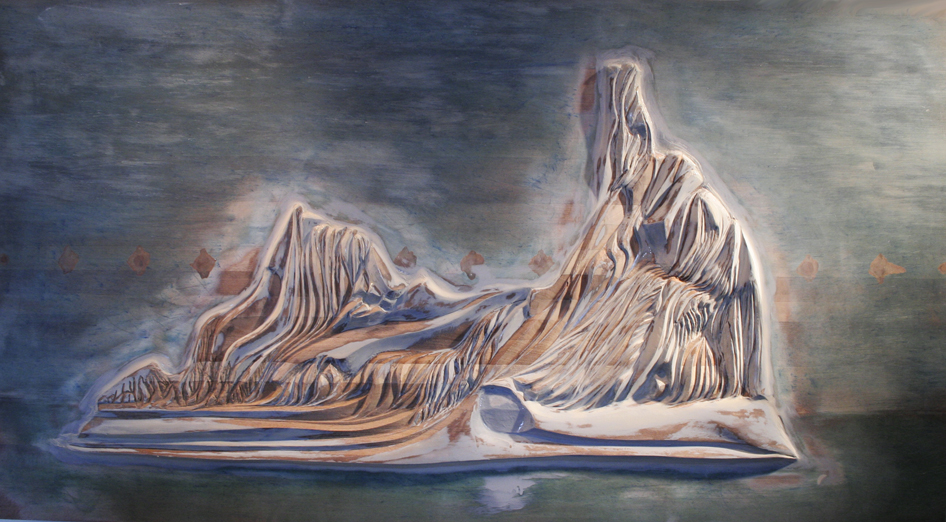
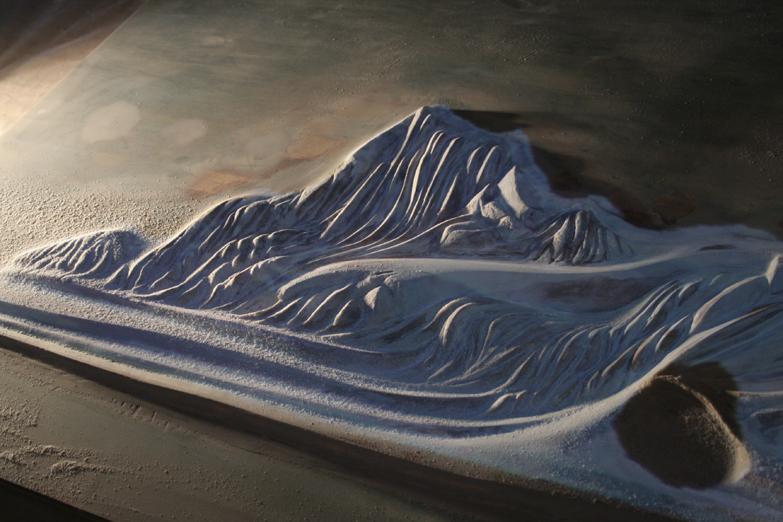
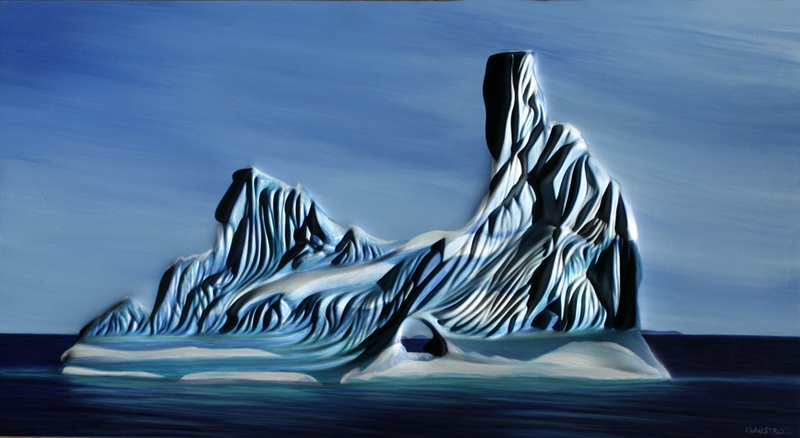
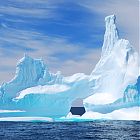 Iceberg
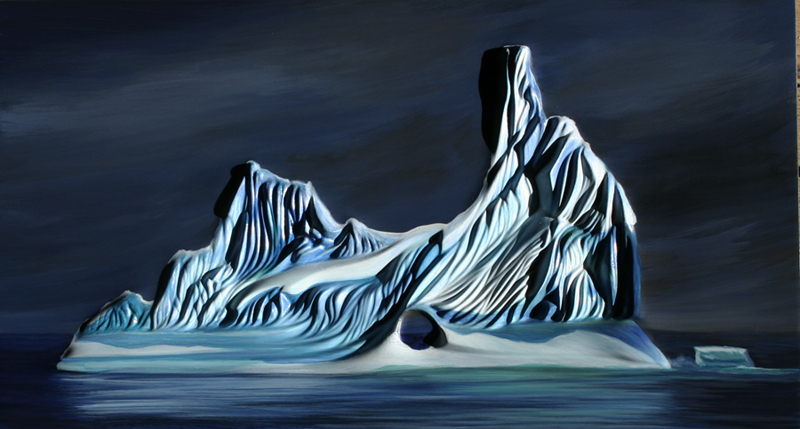
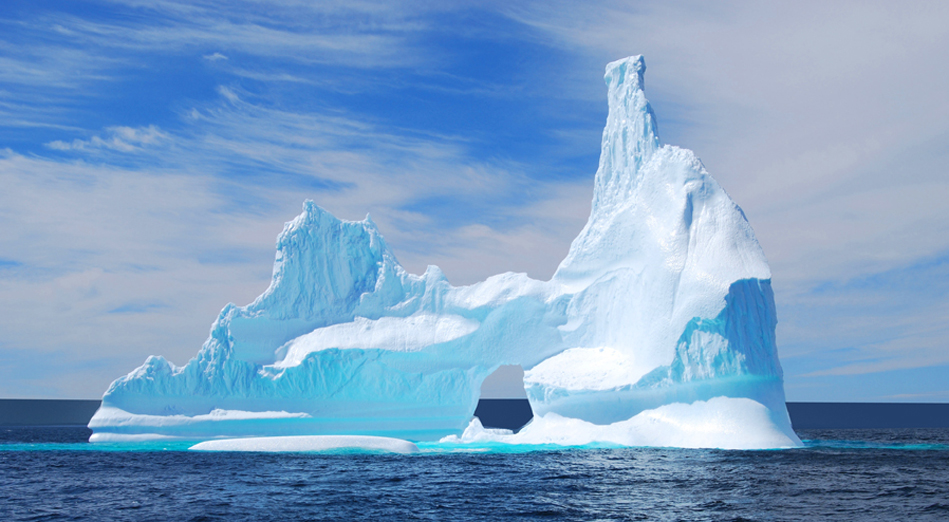
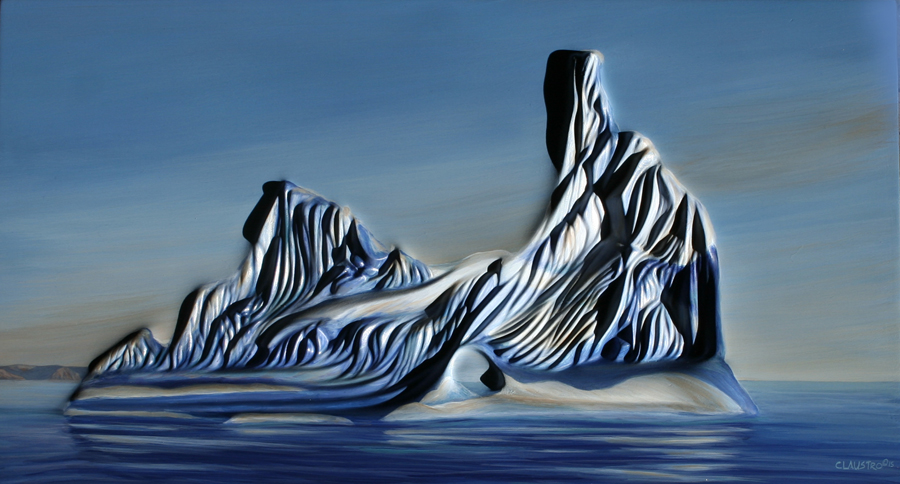
Reference photo
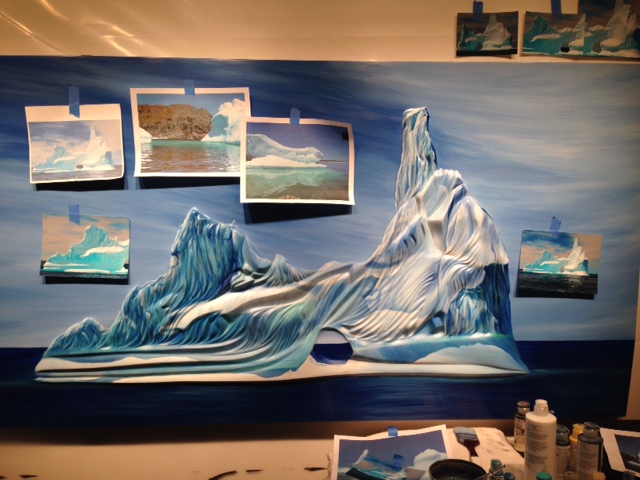
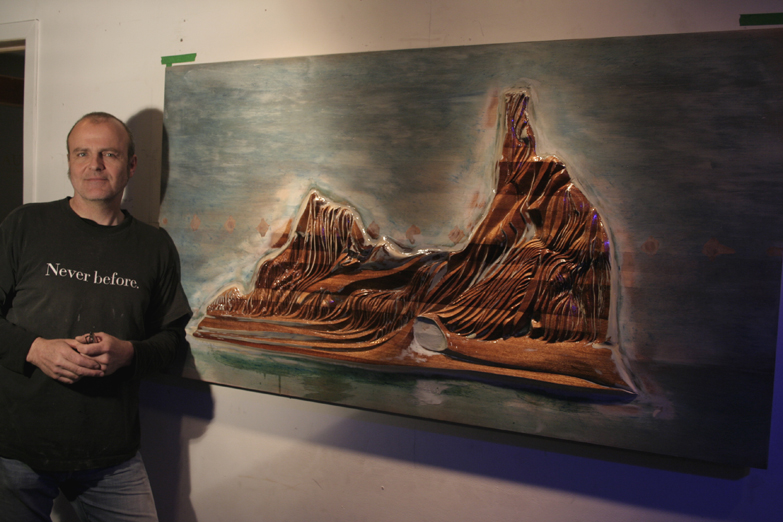
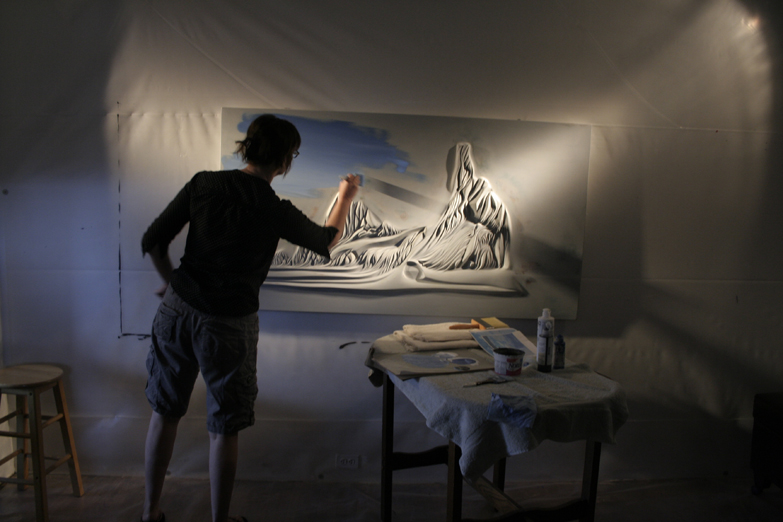
36 x 66 Private Commission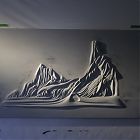 Iceberg in Carol's Studio - getting ready to paint! Does anyone see the woman leading the ship?
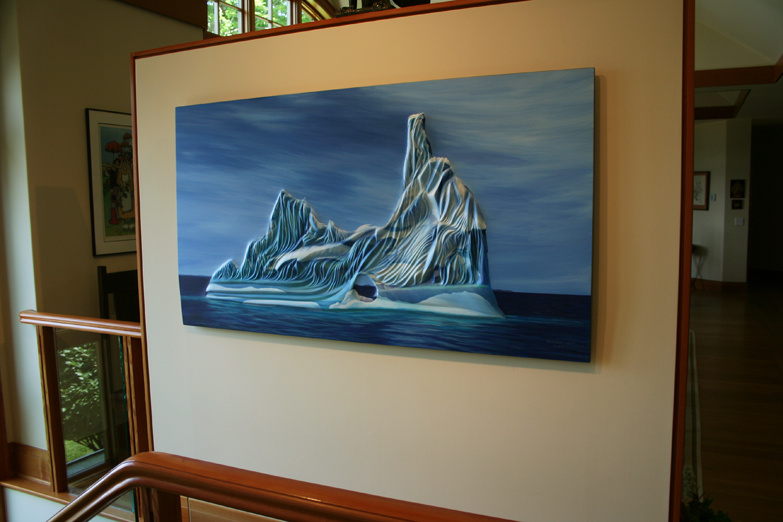
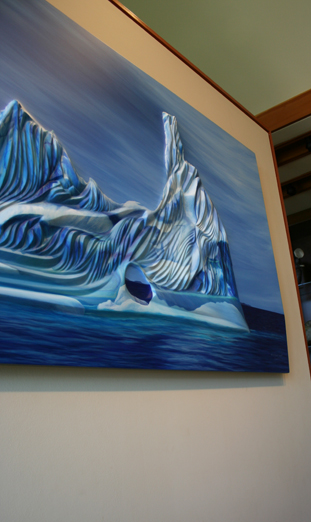
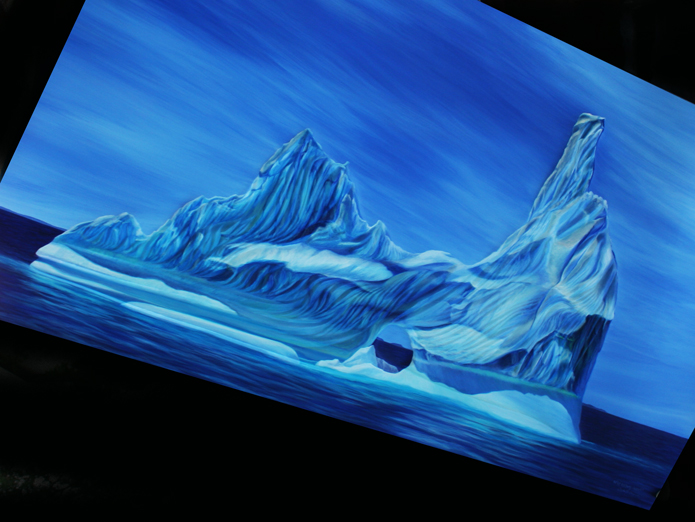
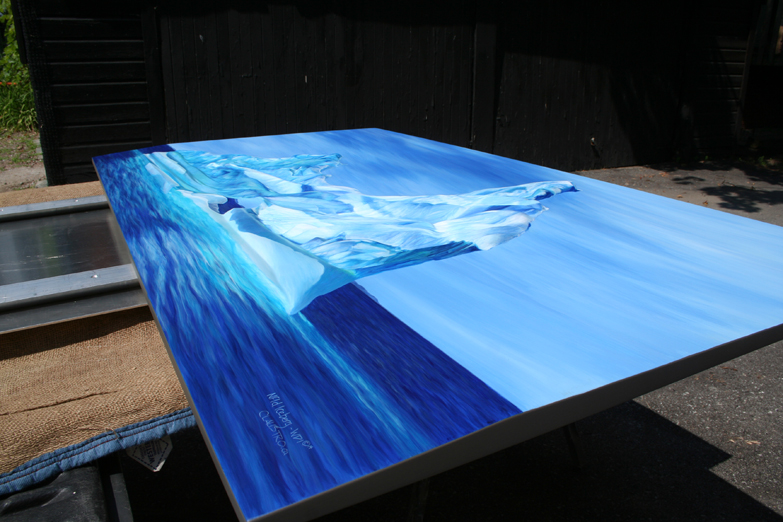
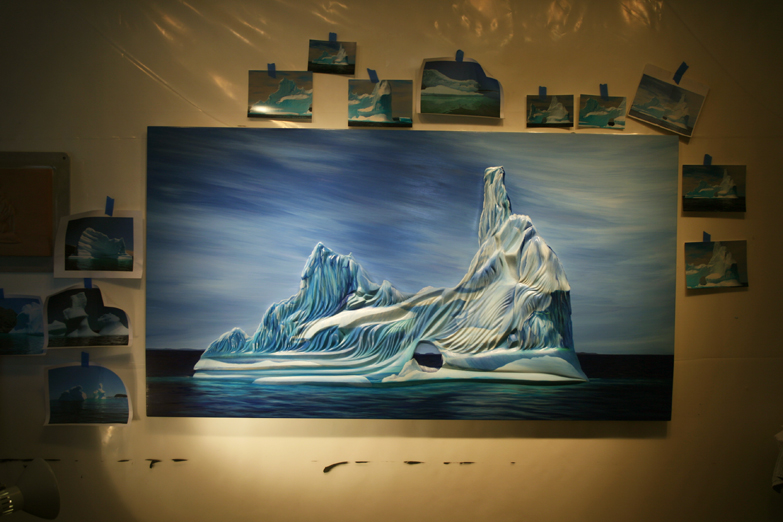
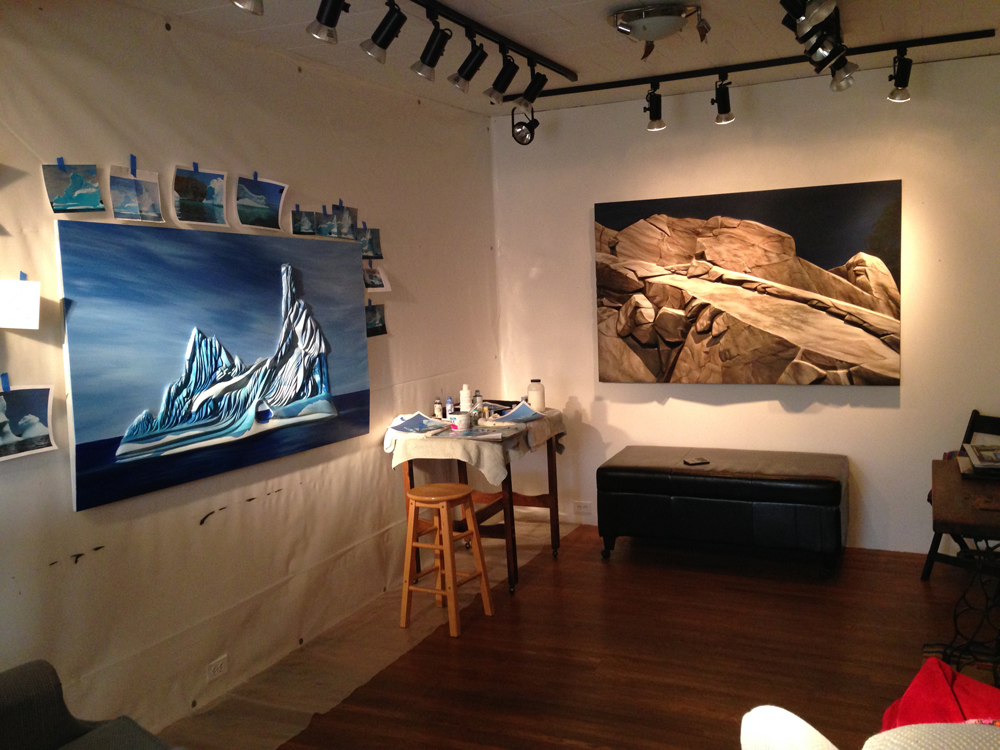
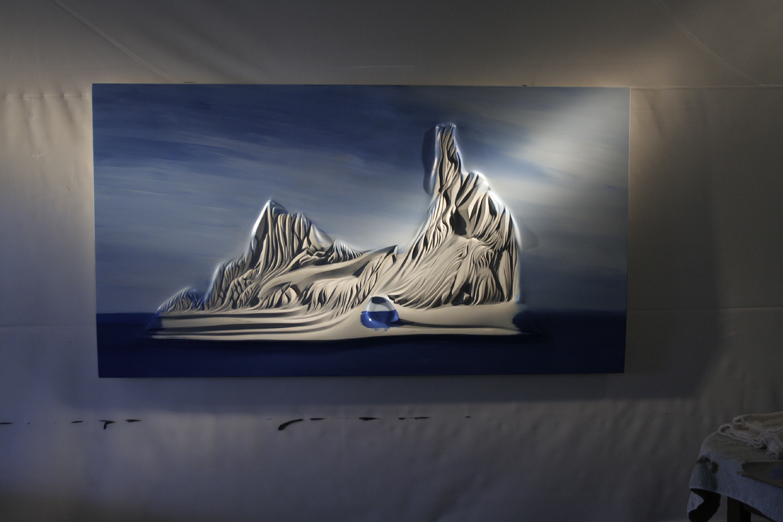
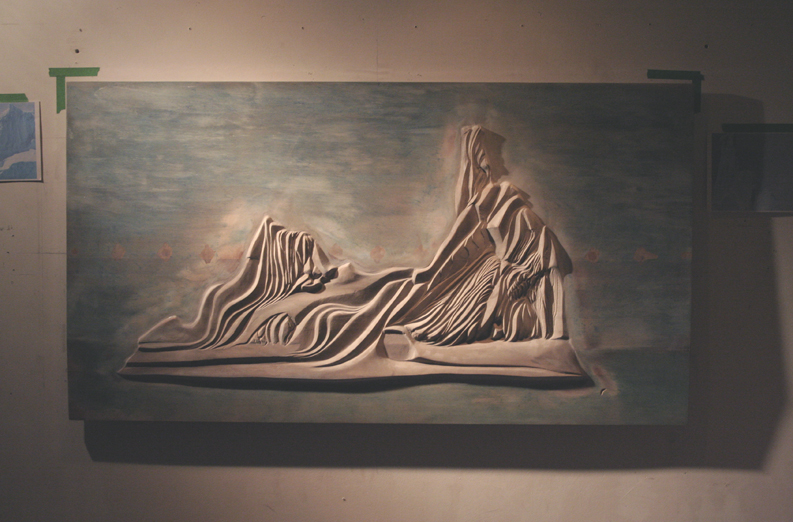
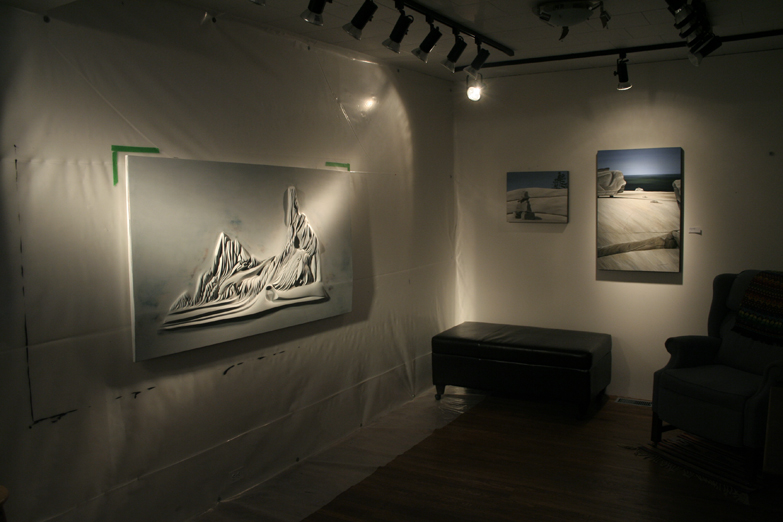
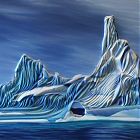 Iceberg, Sculpted Painting, 36 x 66, as viewed on wall.
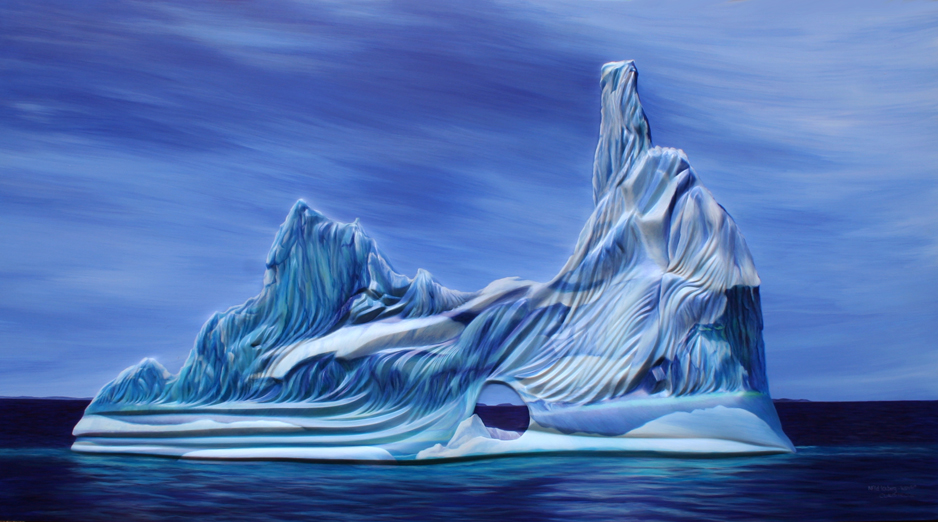
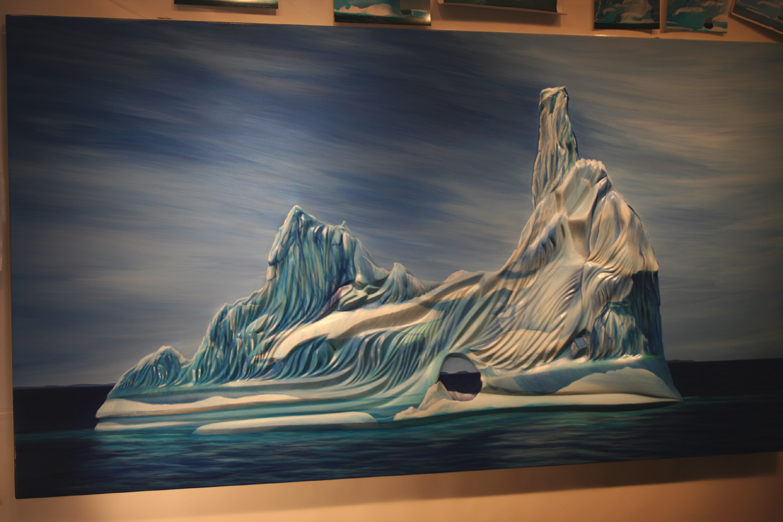
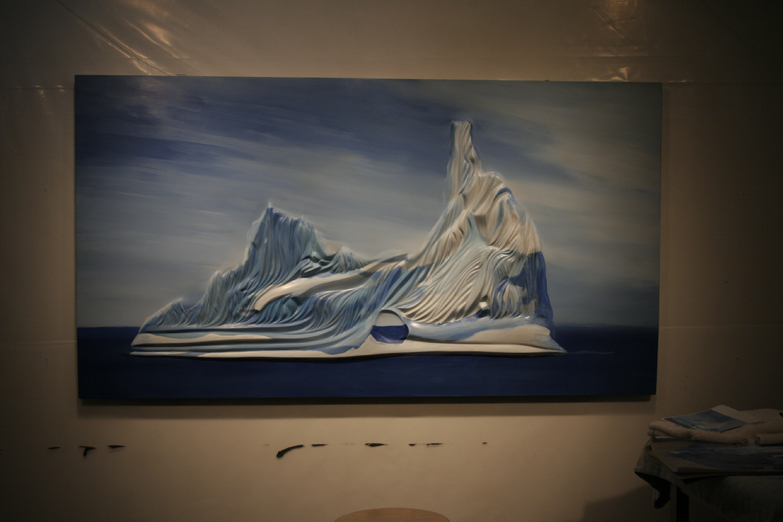
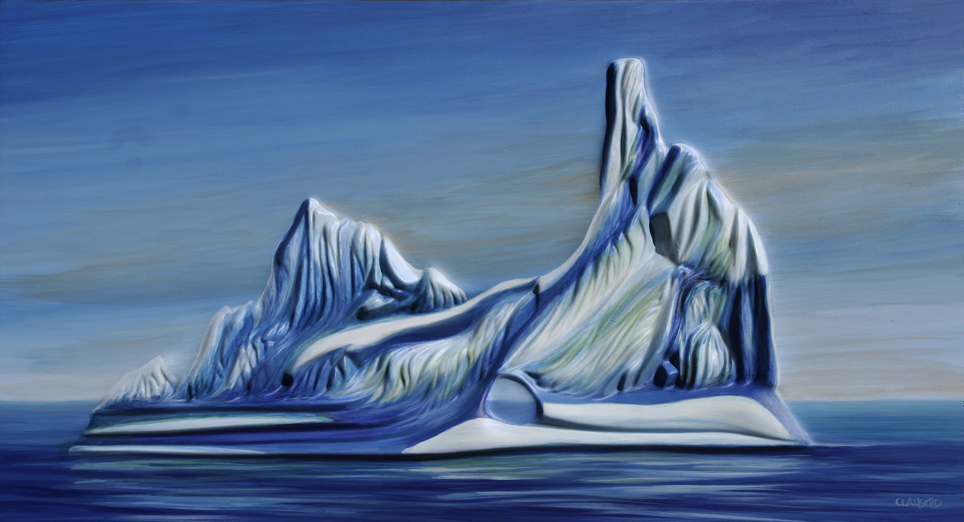
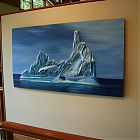 Iceberg, Sculpted Painting, 36 x 66
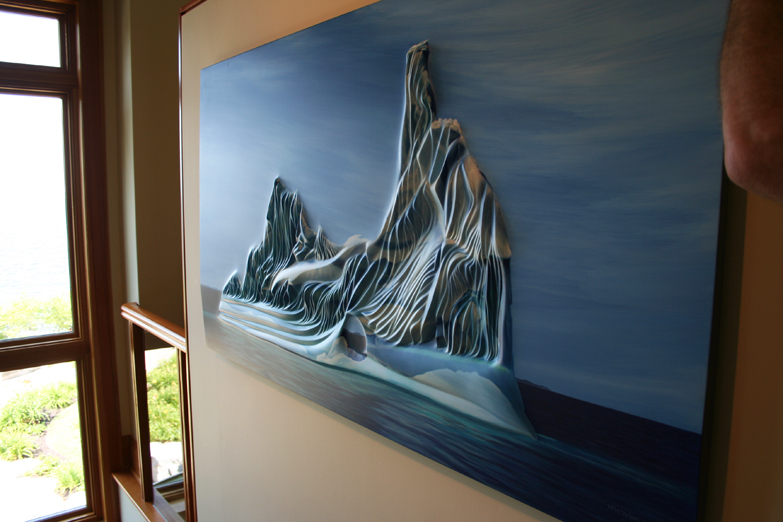
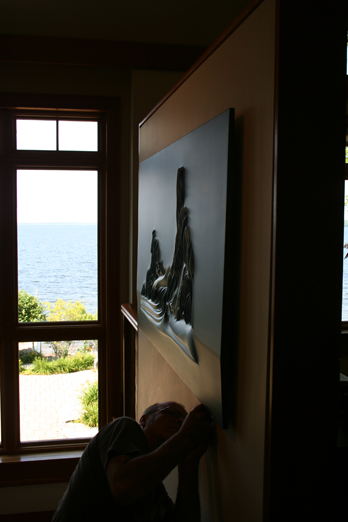
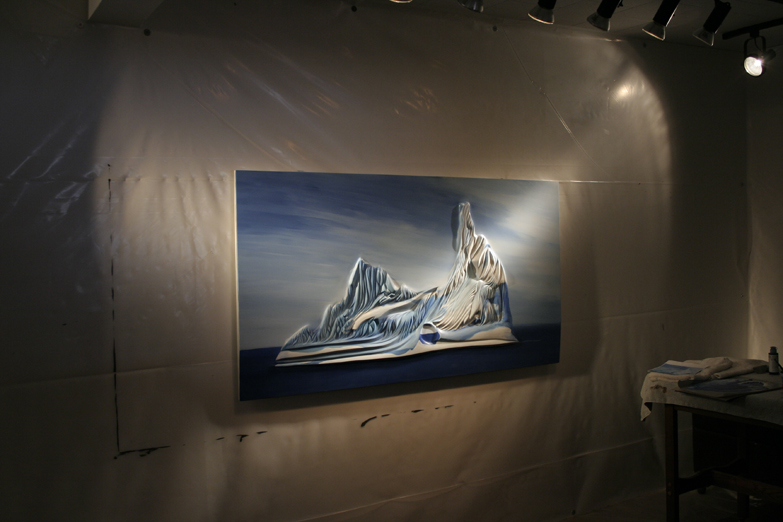
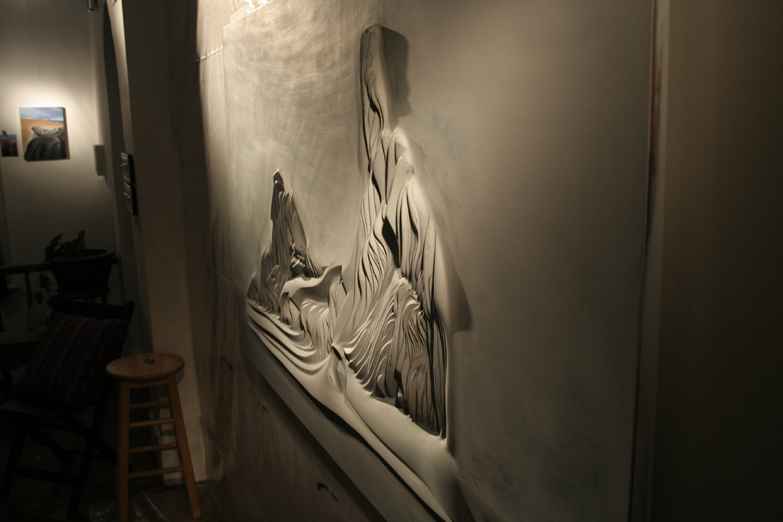
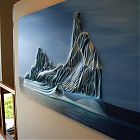 Installation of Iceberg
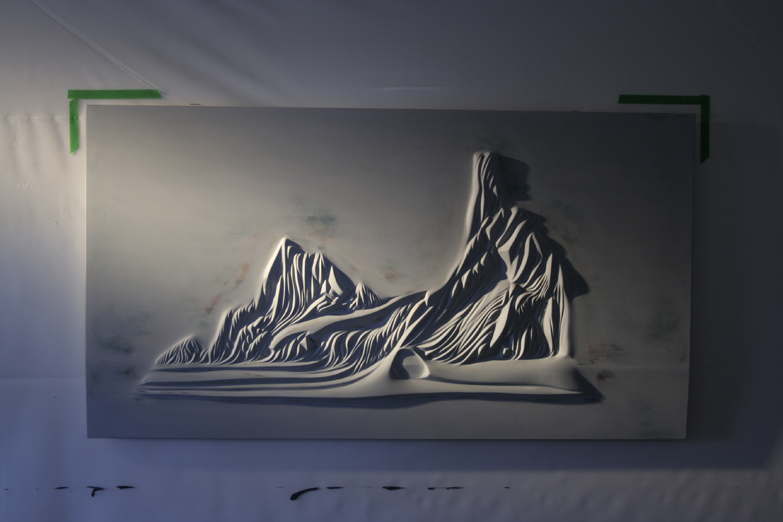
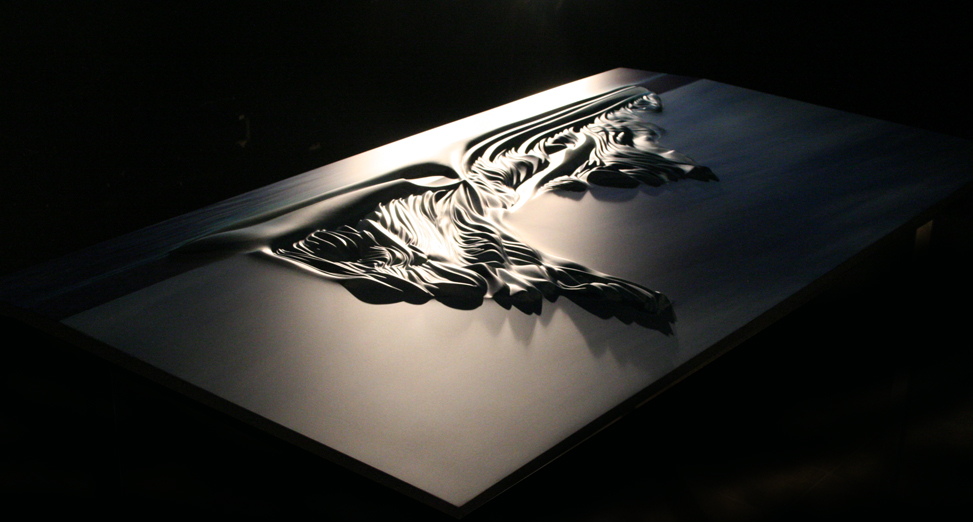
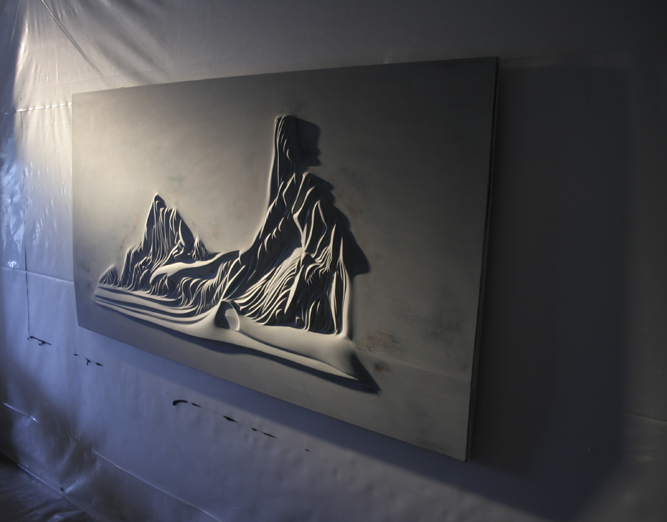
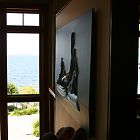 silhouette of sculpture
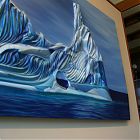 Iceberg, Sculpted Painting, 36 x 66
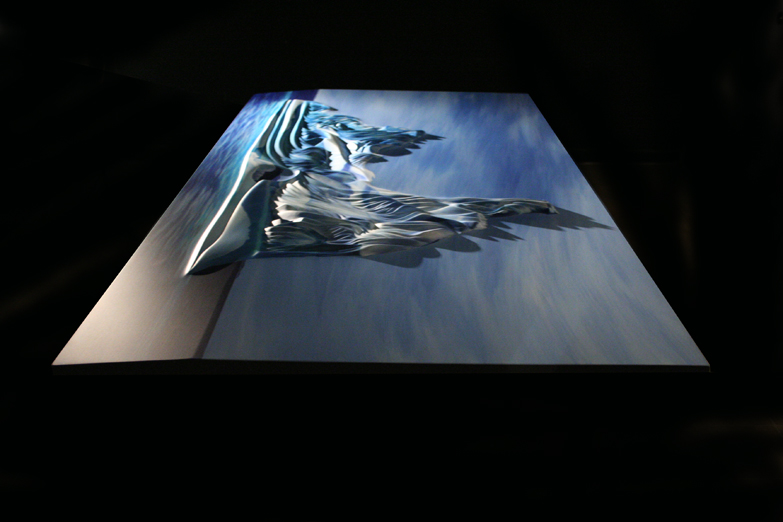
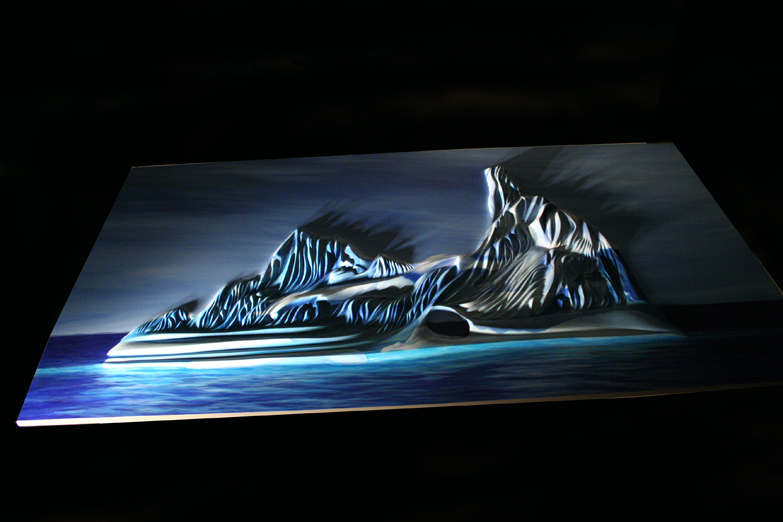
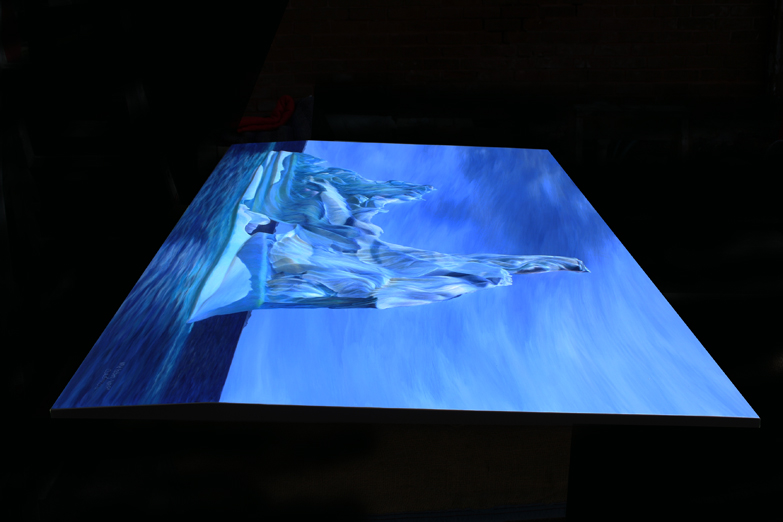
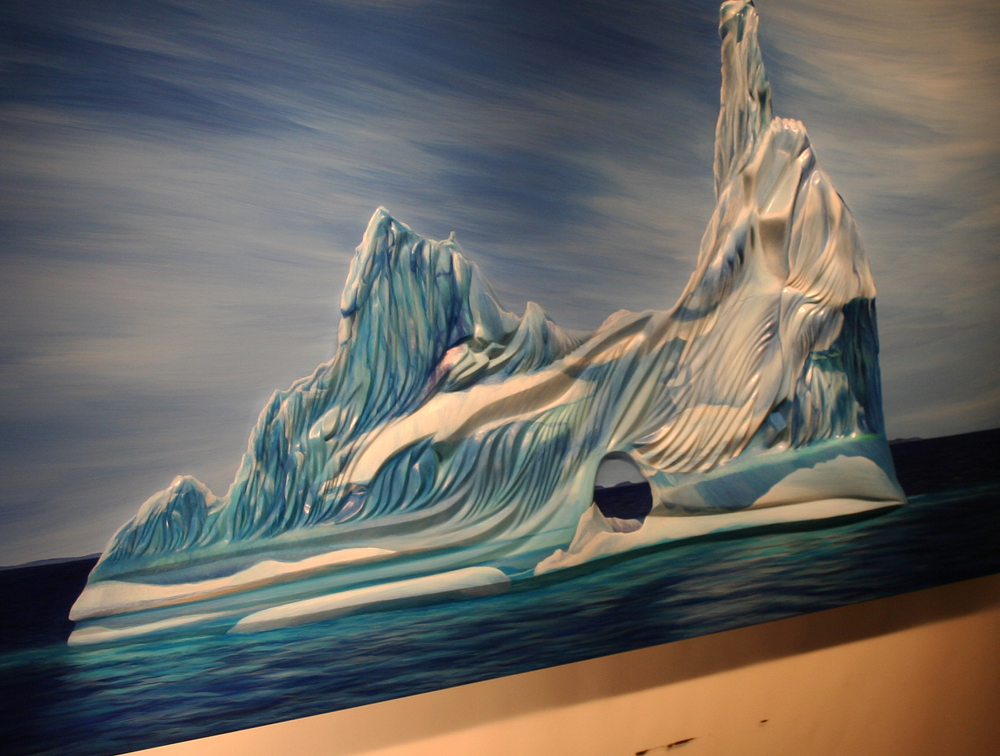
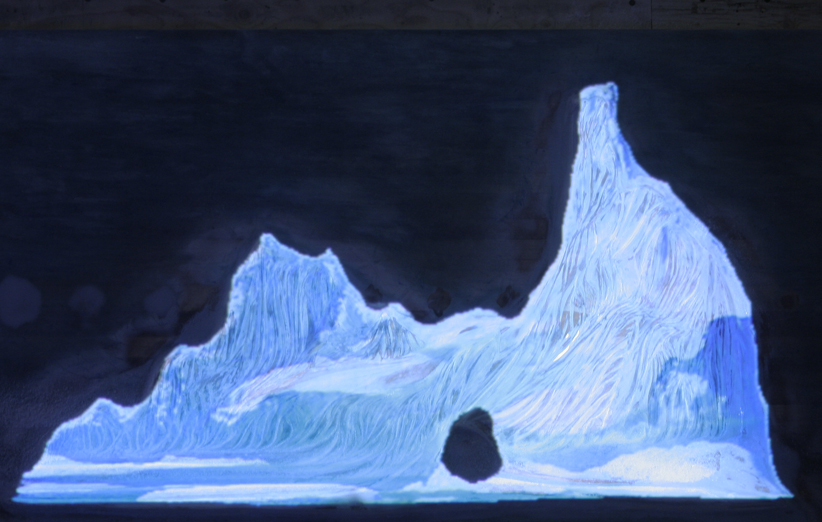
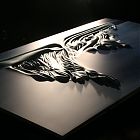 Lighting in evening.
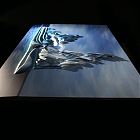 Iceberg in evening light.
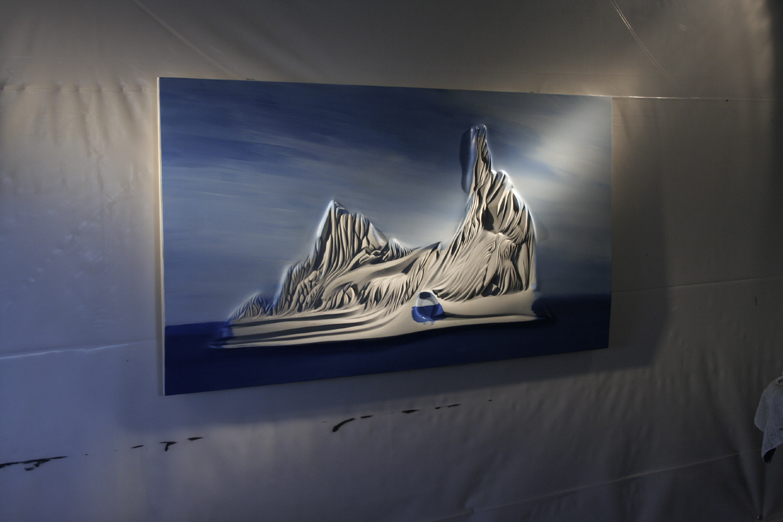
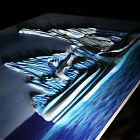 Iceberg in glowing light.
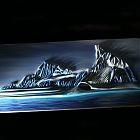 uplight
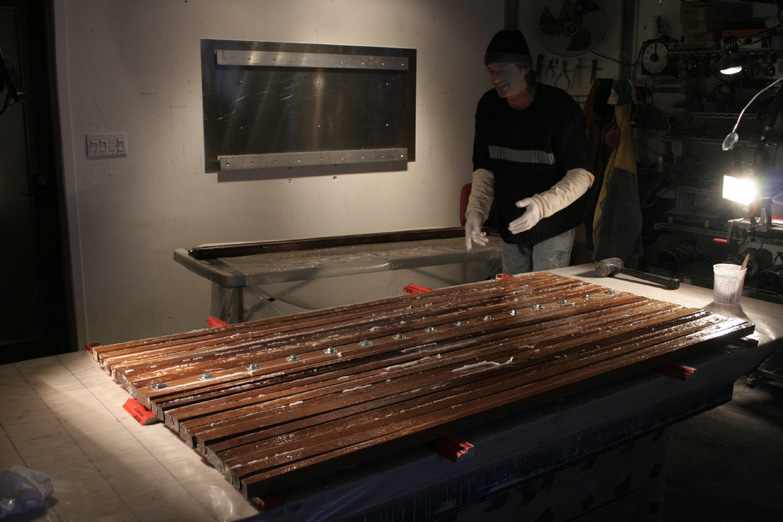
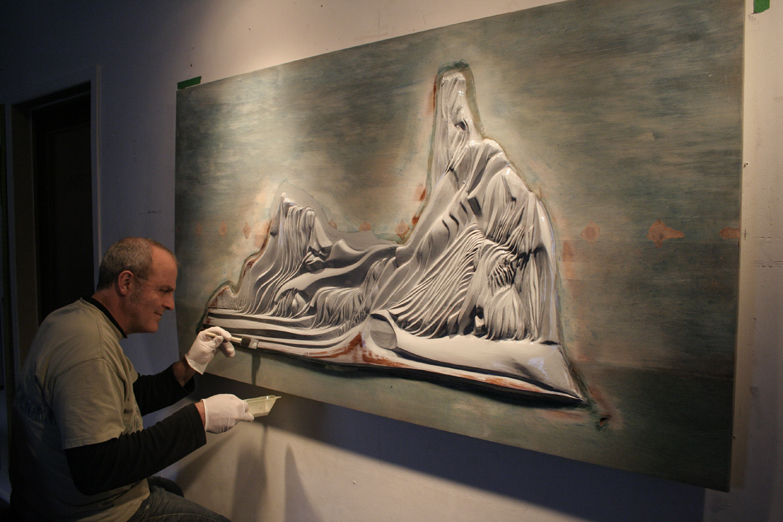
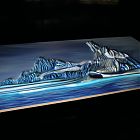 Final protective coatings on the Sculpted Painting of Iceberg.
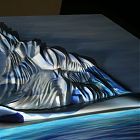 Closeup of sculpted painting.
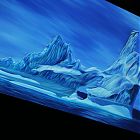 outdoor glow of light.
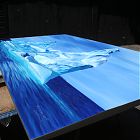 getting ready to install.
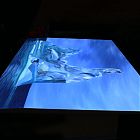 casting light from sky
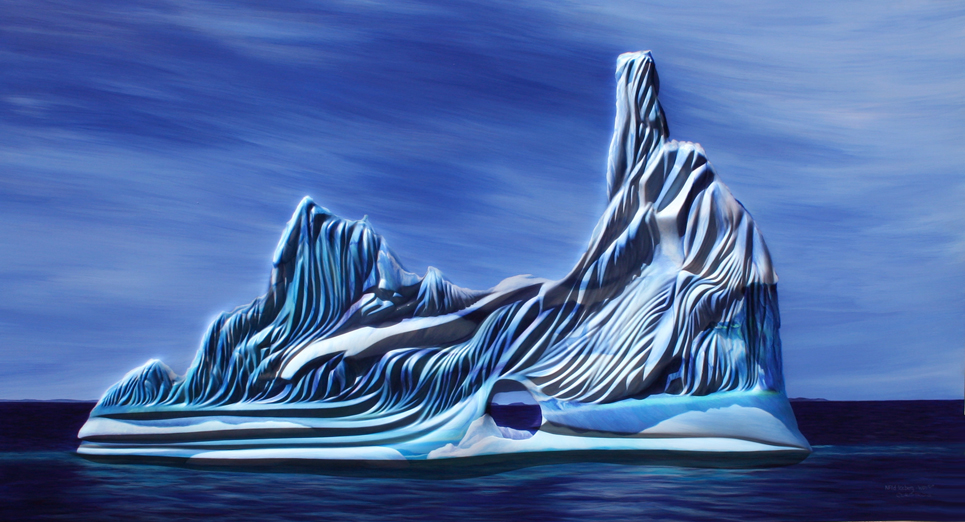
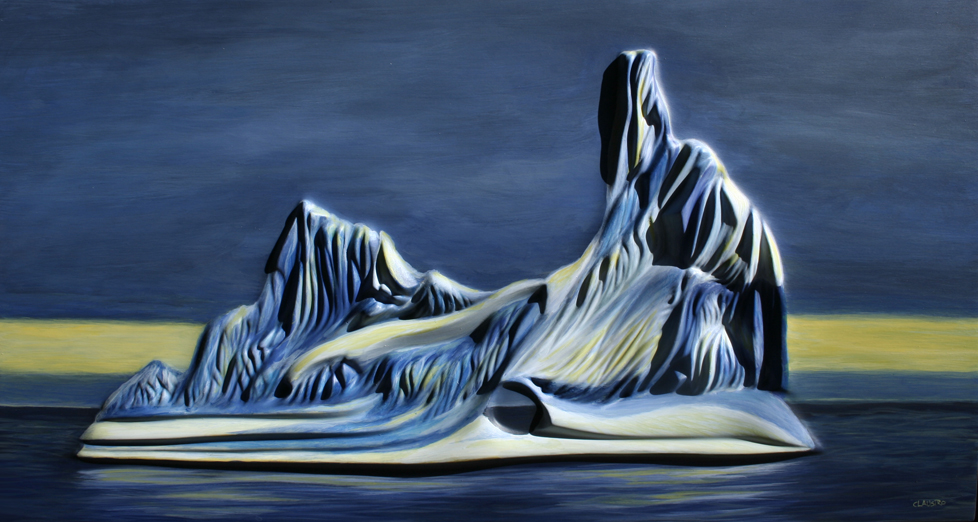
 Iceberg, Sculpted Painting, 36 x 66
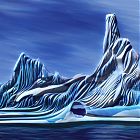 Iceberg, Sculpted Painting, 36 x 66
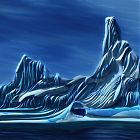 Iceberg, Sculpted Painting, 36 x 66, dramatic lighting
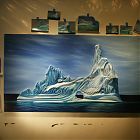 Iceberg, Sculpted Painting, WIP
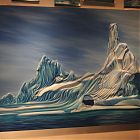 Almost done!
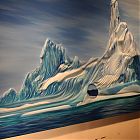 WORK IN PROGRESS, Iceberg, 36 x 66
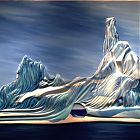 Work In Progress, Iceberg, 36 x 66
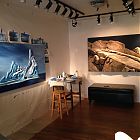 Iceberg almost done - in studio!
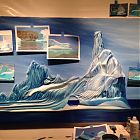 Work in Progress, Iceberg, 36 x 66
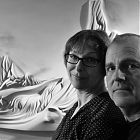 Photo opp before the paint is applied! Claustro duo.
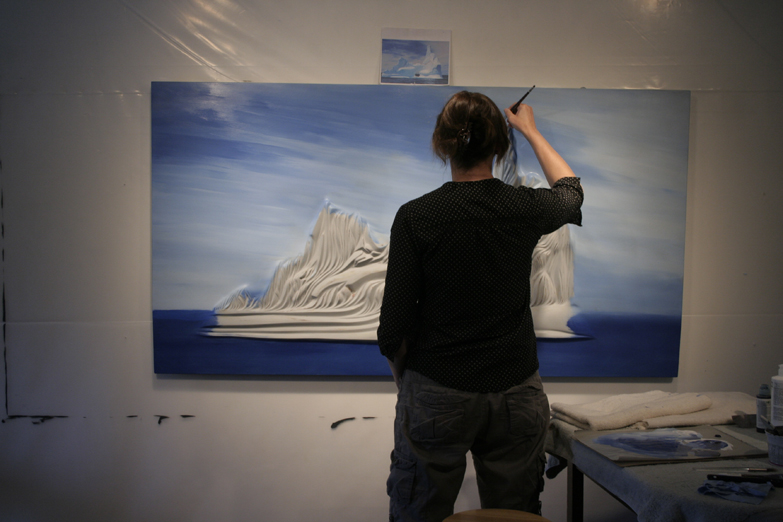
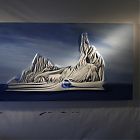 First coats sky and water. Wow!
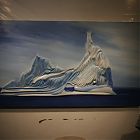 First coats of paint on Iceberg!
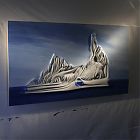 First coats, sky and water.
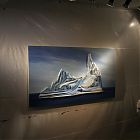 First coats of paint on iceberg.
 Sheesh, another layer to sand again. Poor Stu - so much sanding to get to the final finish.
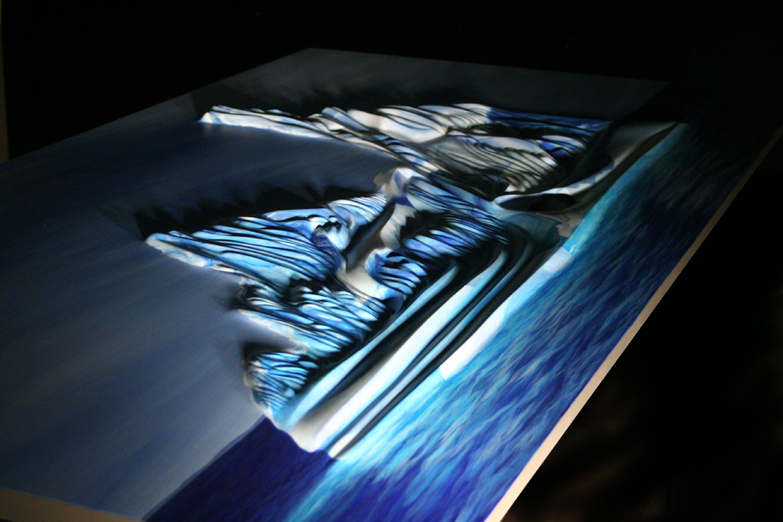
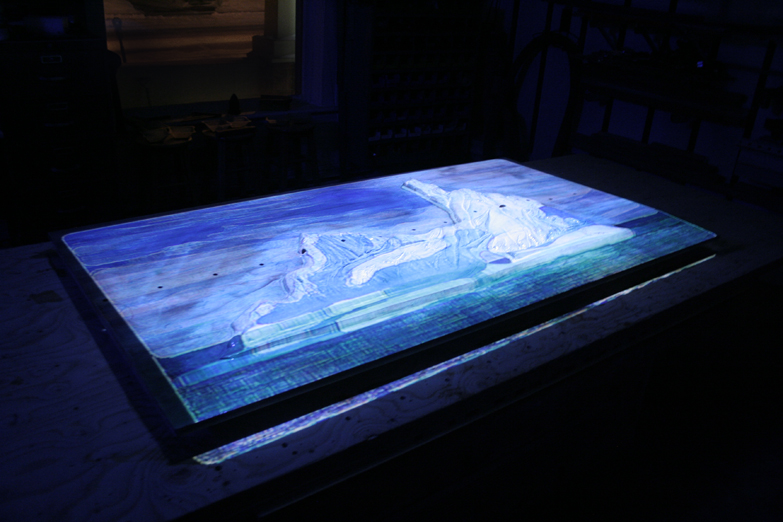
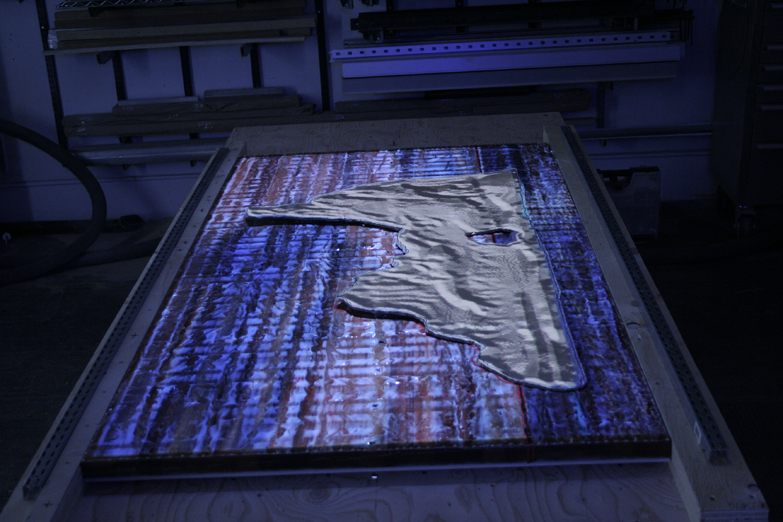
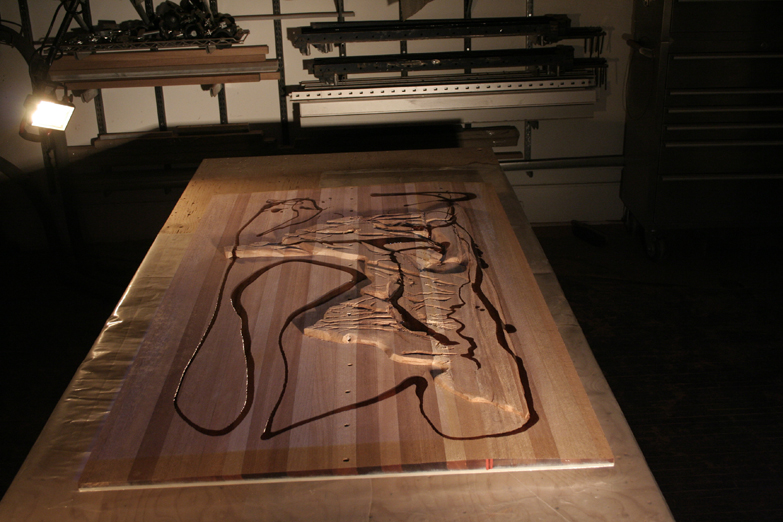
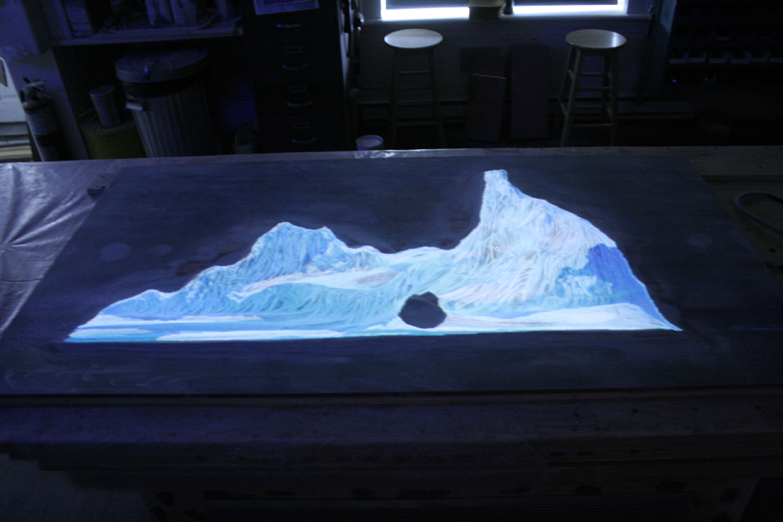
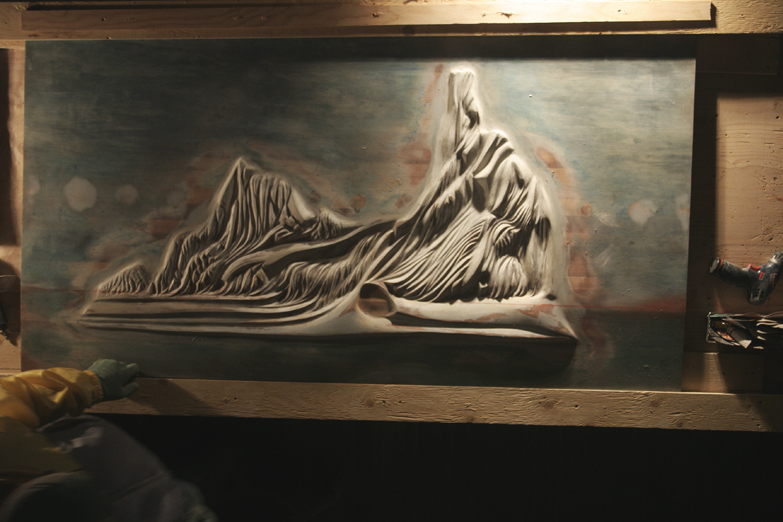
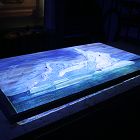 Projected image onto carving.
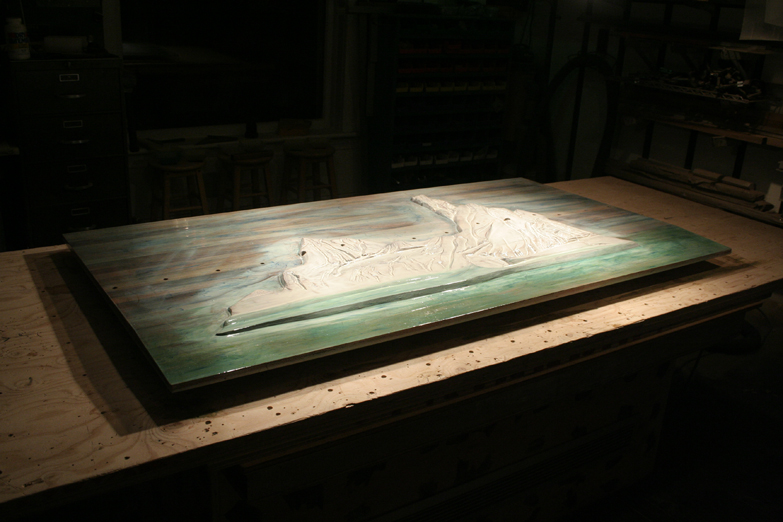
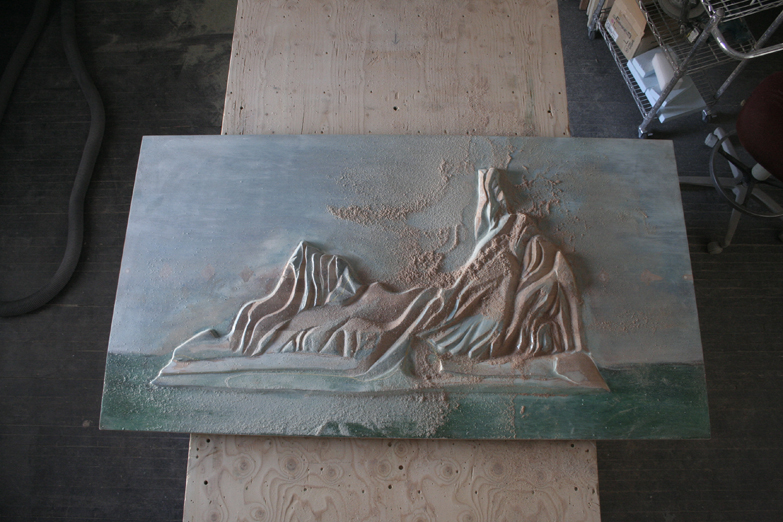
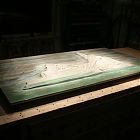 Stu added some pigment to the epoxy coating to get a feel for the carving. Very creative and pretty just like this!
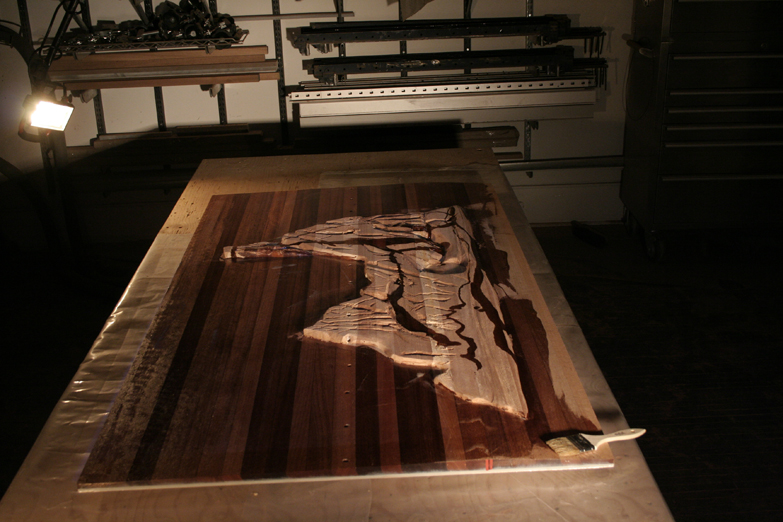
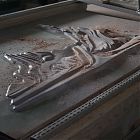 Carving is softening and getting refined.
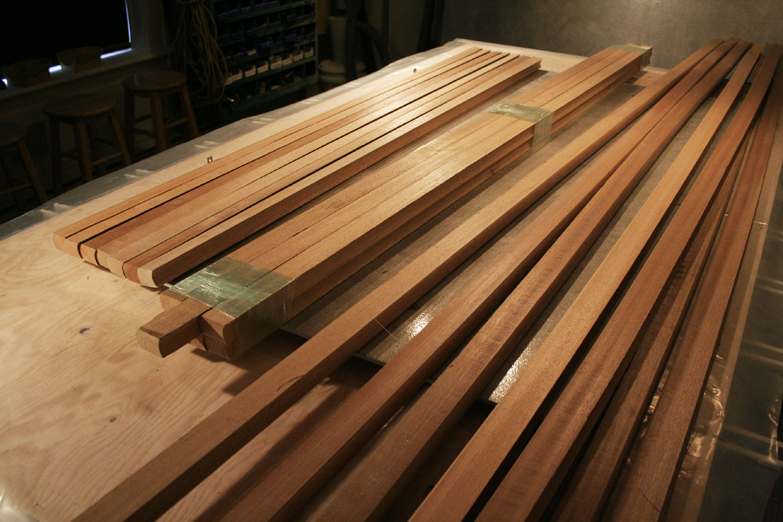
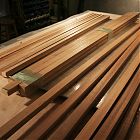 Cutting mahogany for glue up.
 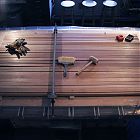 Mahogany ready to go for a 'dry run of glue up'.
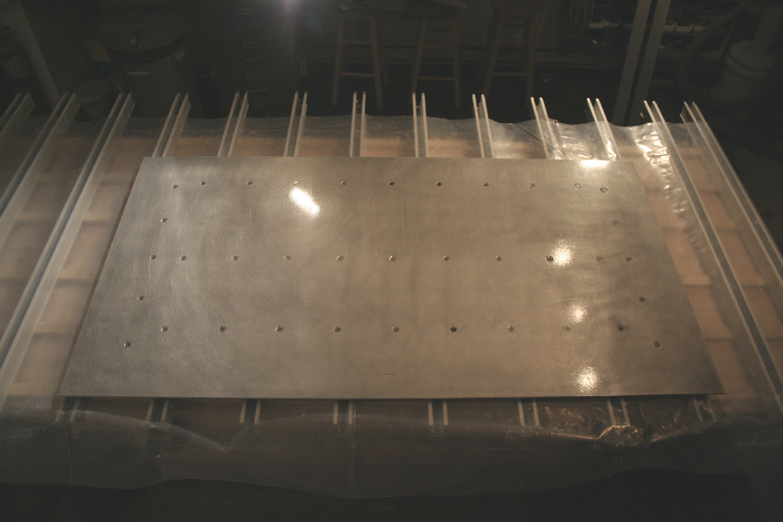
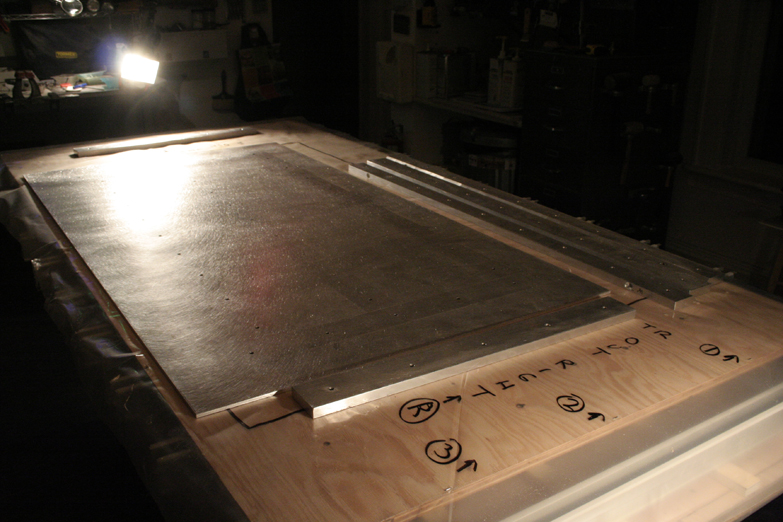
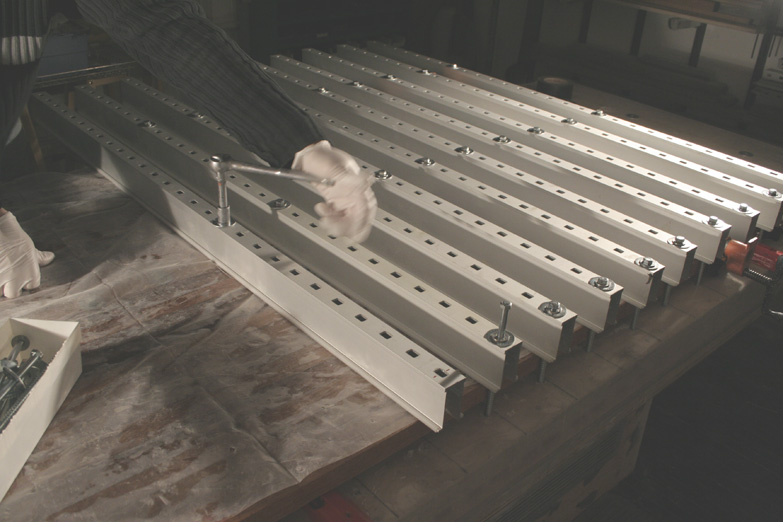
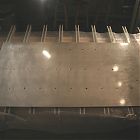 Back aluminum support plate the glue will be epoxied to.
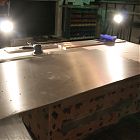 Aluminum back plate and brackets. Cleaning to prepare for gluing.
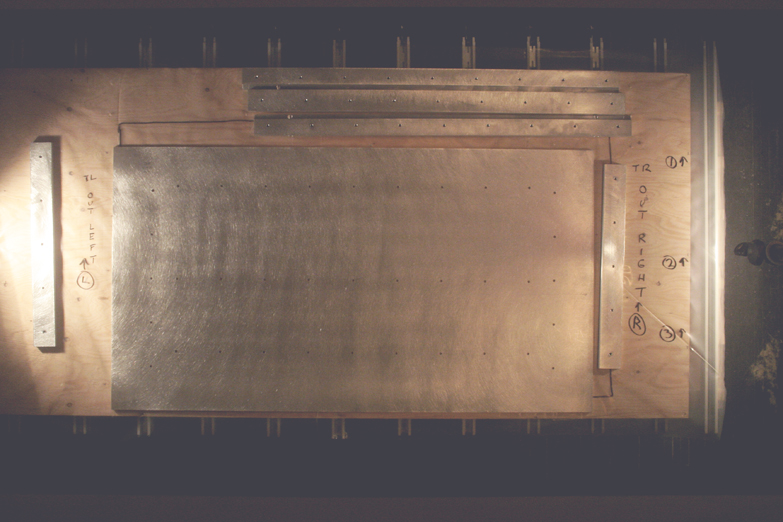
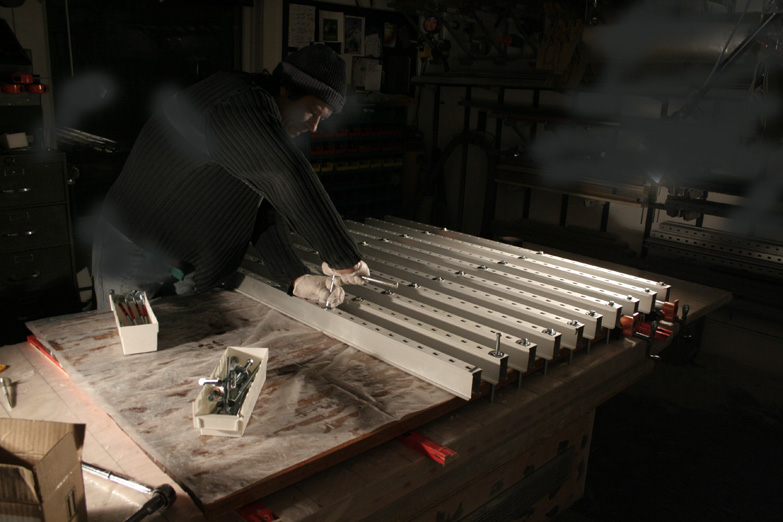
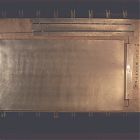 After clean and set up, labelling of plate parts prior to glue up.
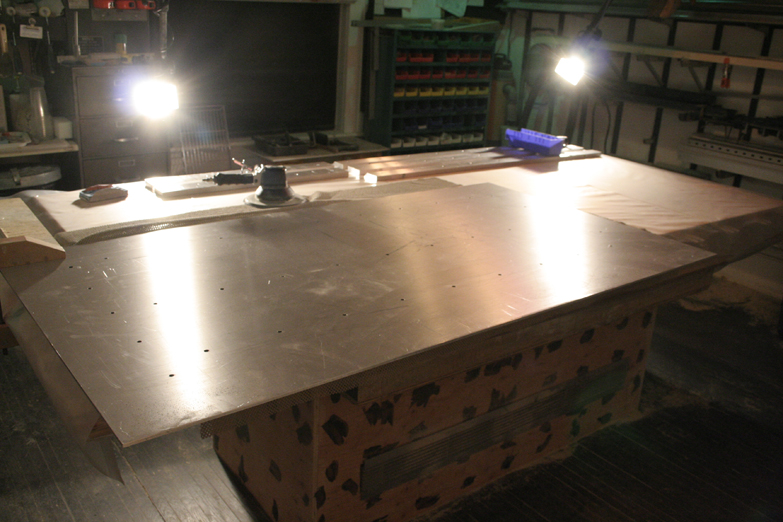
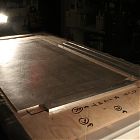 Closeup up all plate parts. So much work even before glue up.
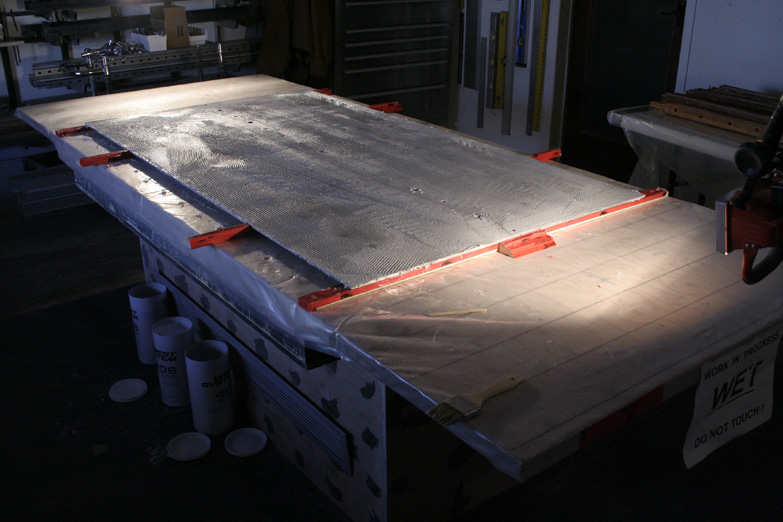
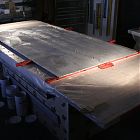 Back aluminum plate wet out with glue to receive mahogany.
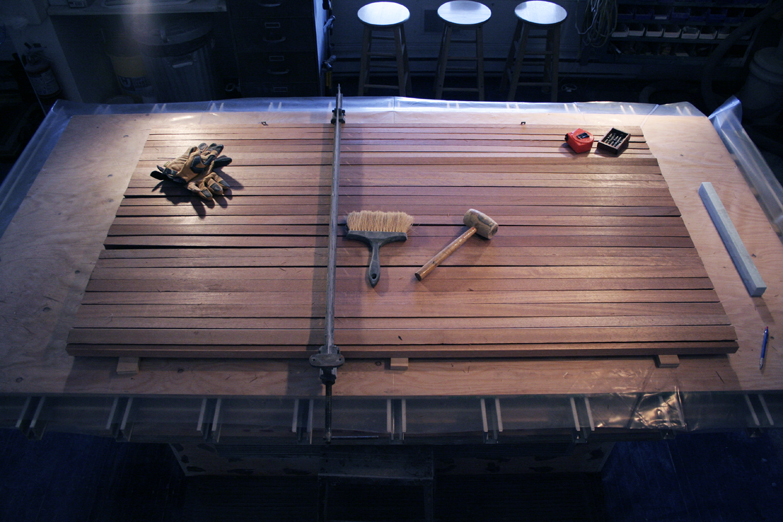
 One by one, each mahogany strip is epoxied and laid on the aluminum plate.
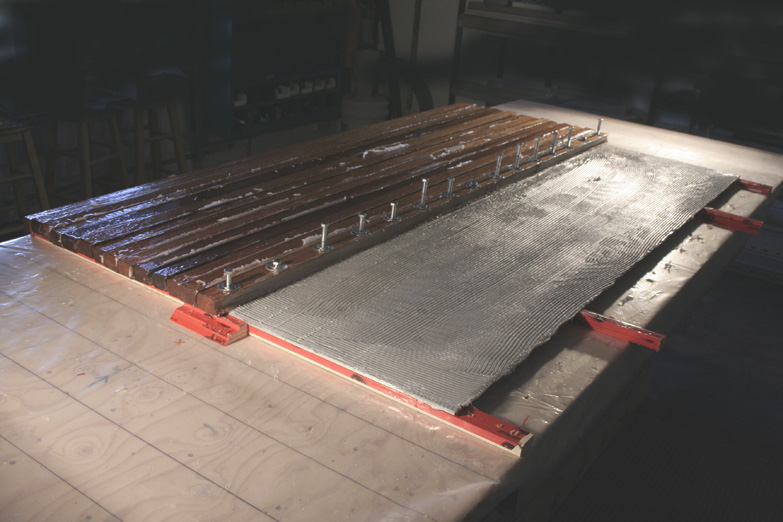
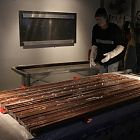 Mahogany placed on the aluminum plate and now to add brace clamps to set.
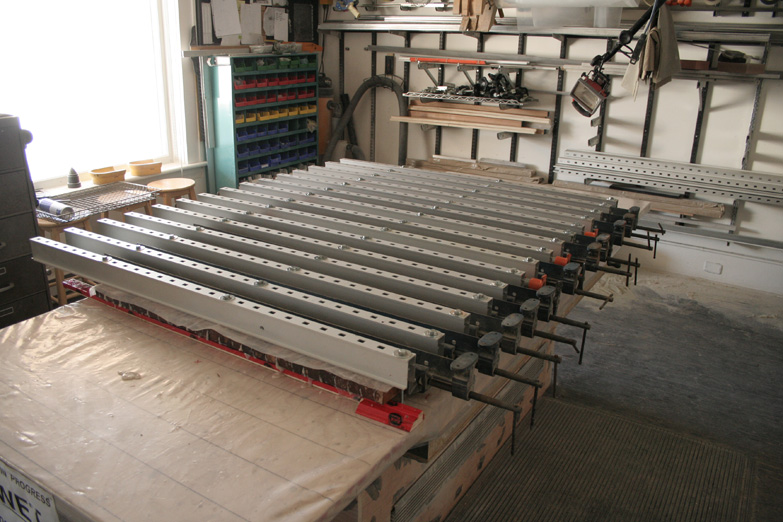
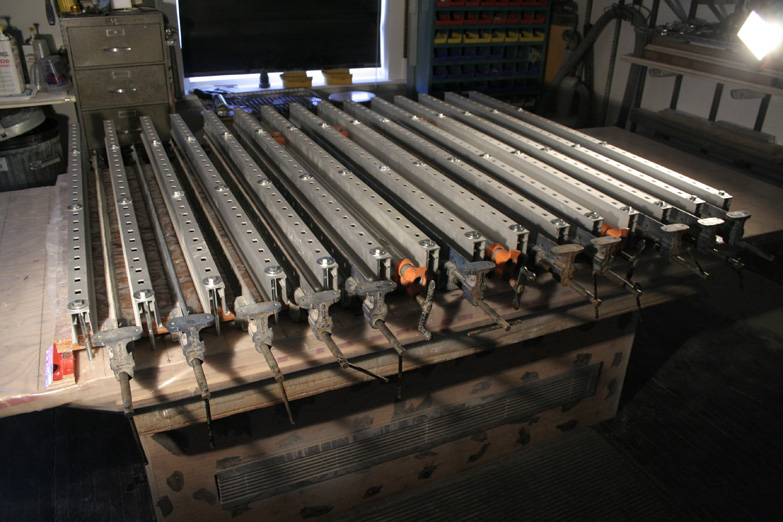
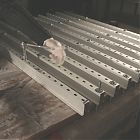 Each brace clamp is secured to mahogany and plate to ensure it remains flat with pressure.
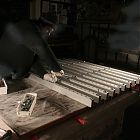 Clamps are secured at the middle and ends. Creating a flat panel is no easy task.
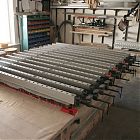 Full glue and clamp setup. Epoxy will need to set for 48 hours before unclamping.
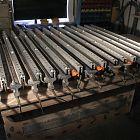 Nice job Stu!
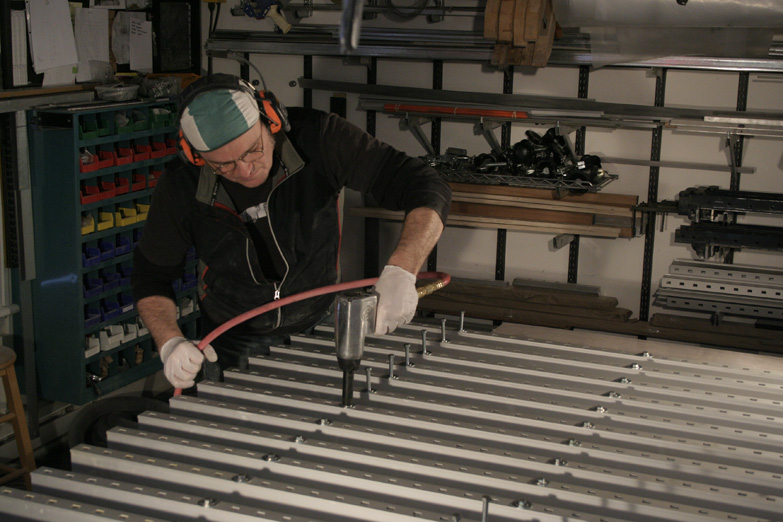
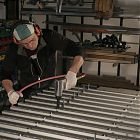 Now - ready to unclamp - Stu first removes each bolt.
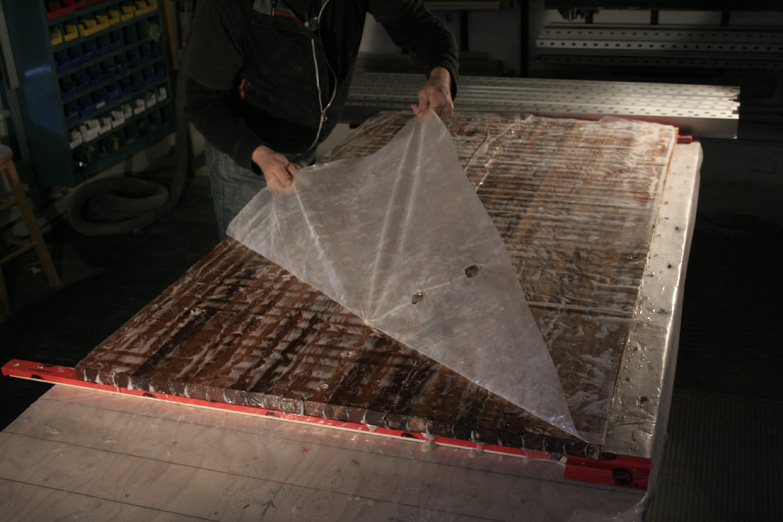
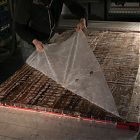 Once the clamps are off, Stu releases the plastic and checks the panel out ... Success!
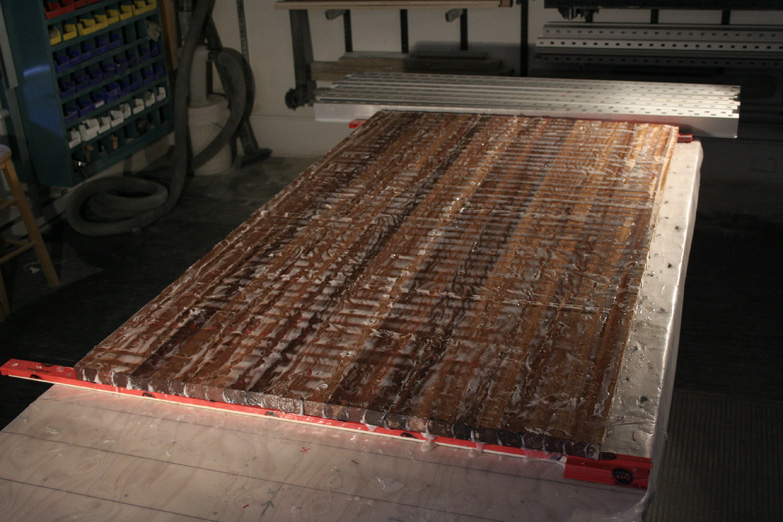
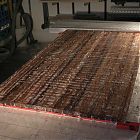 THE panel!
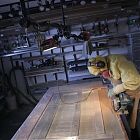 Stu flips the panel over to show the aluminum back side to trim the excess mahogany.
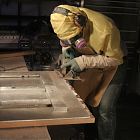 Trimming the excess wood to make a perfect 36 x 66 panel, finished to the aluminum plate.
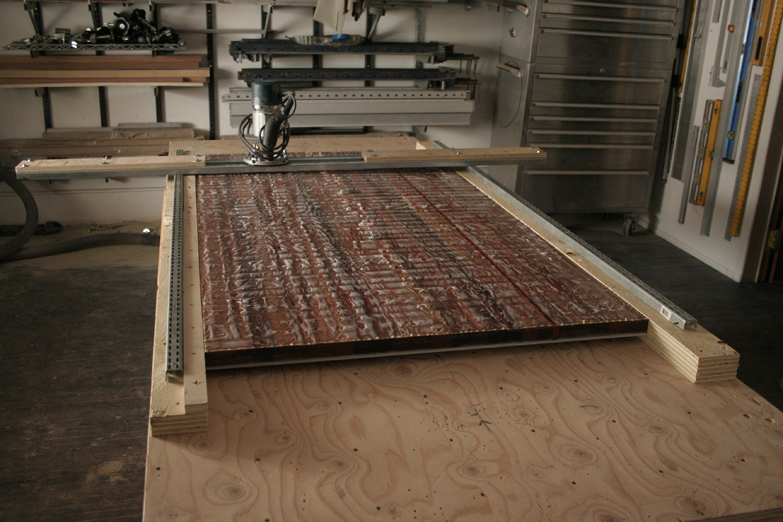
 Panel and jig is now ready and set up to start carving.
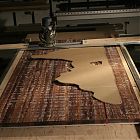 Ready to go!
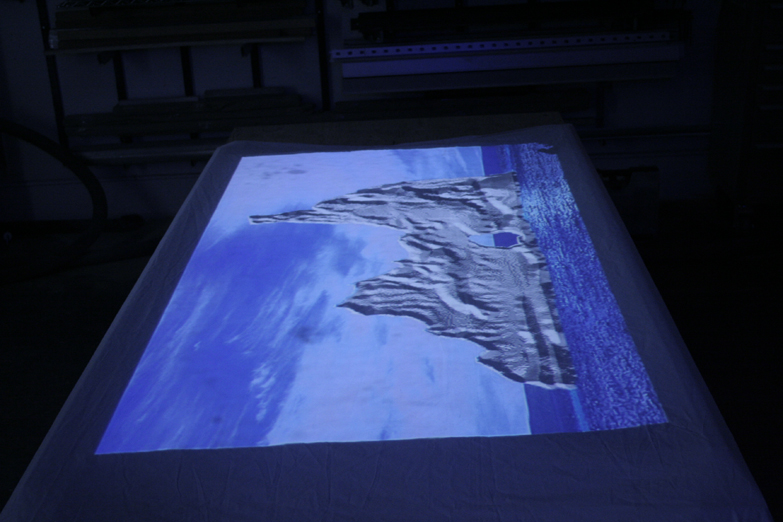
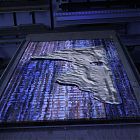 Projecting image to carving table.
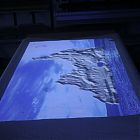 Another projected image onto the wood, to show what will be carved.
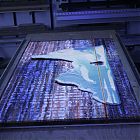 Showing water line in red.
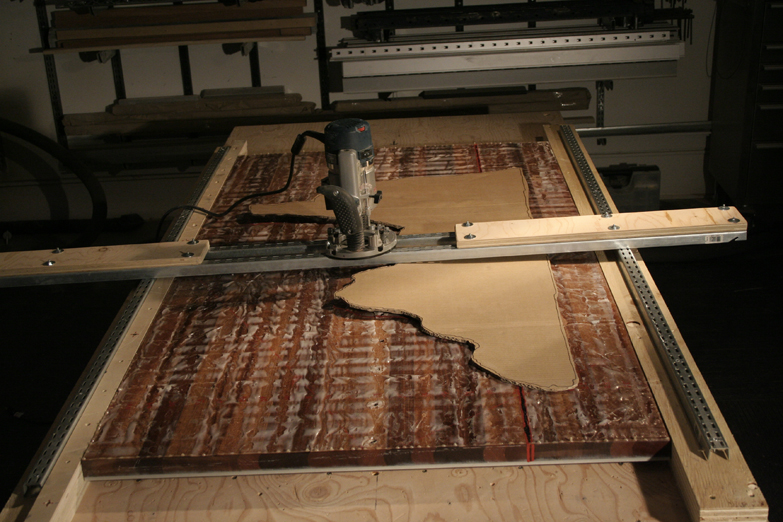
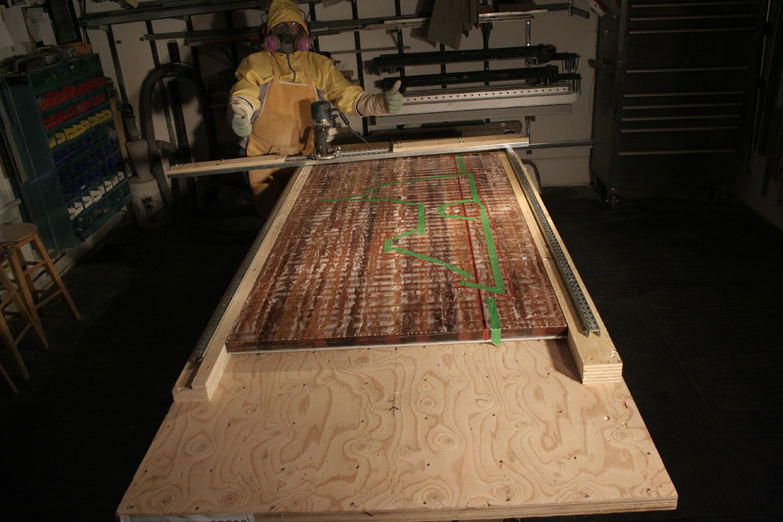
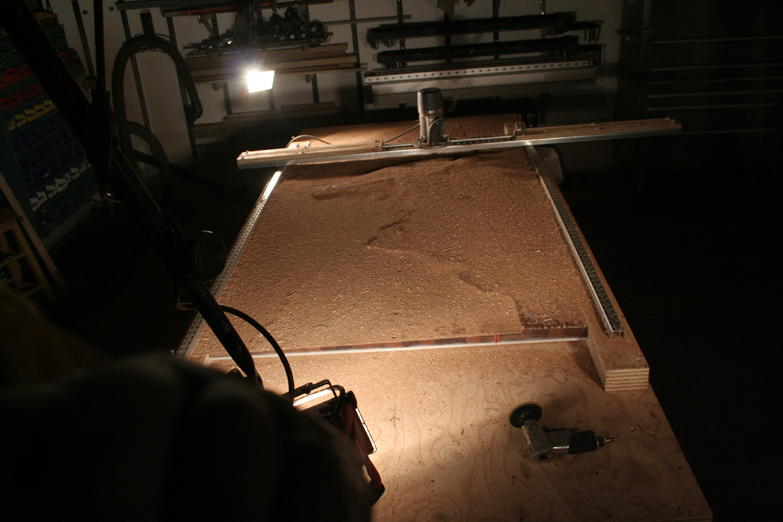
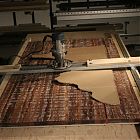 Set up for cutting jig.
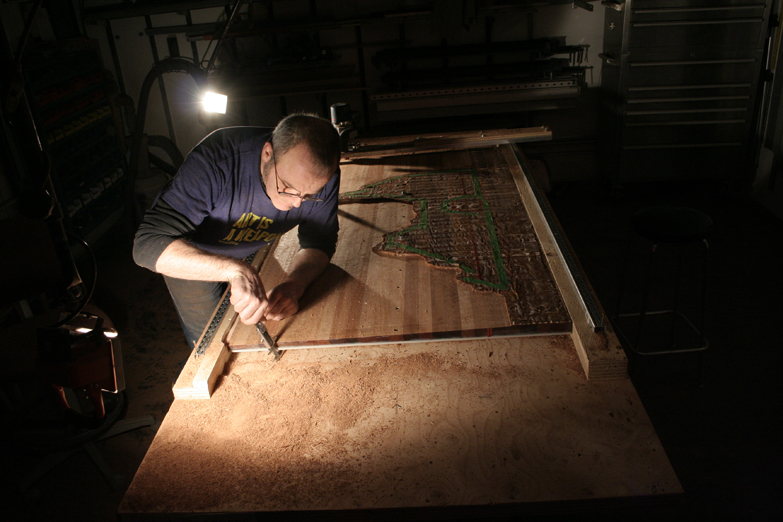
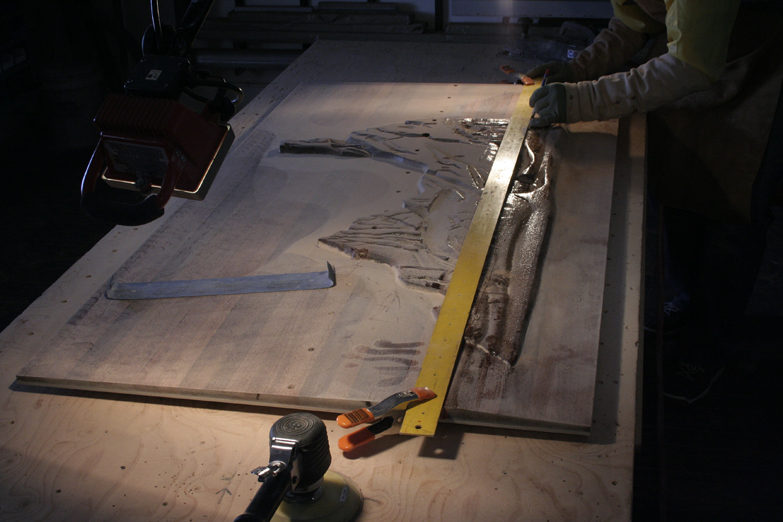
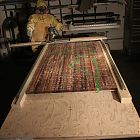 Stu tapes out iceberg image to mark his cuts.
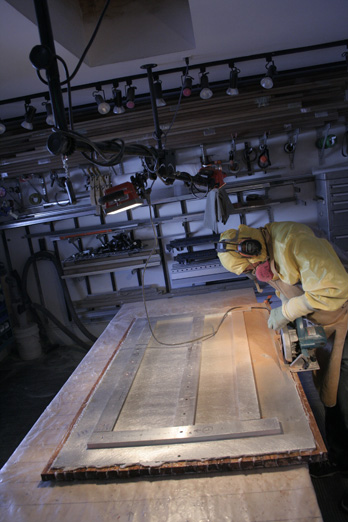
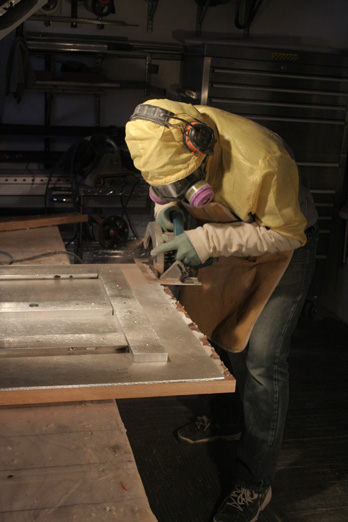
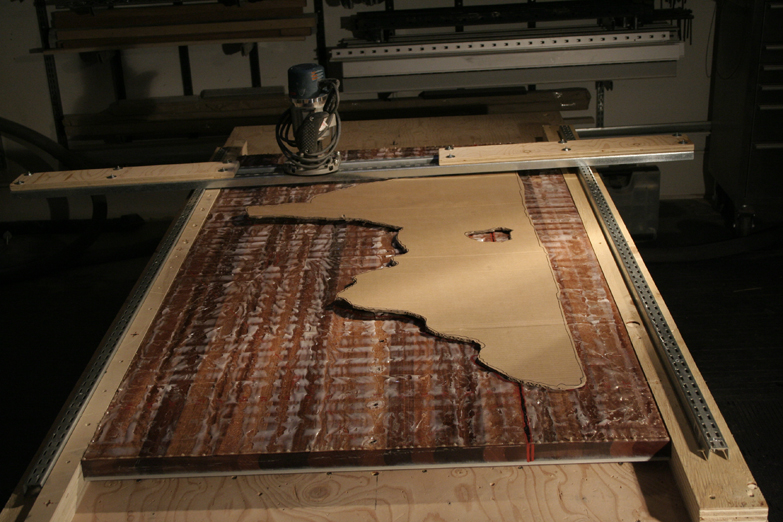
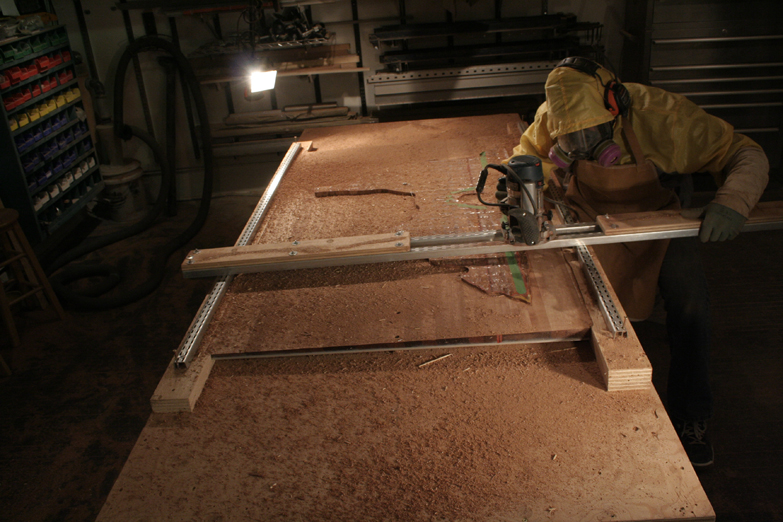
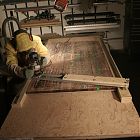 And the cutting starts.
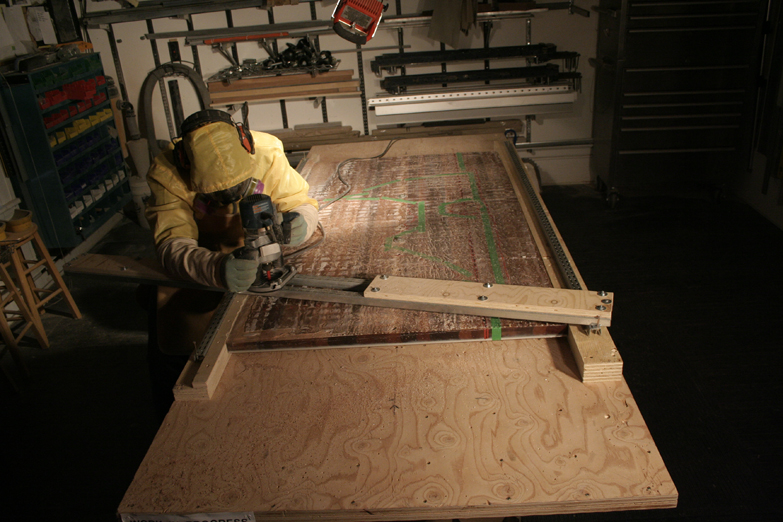
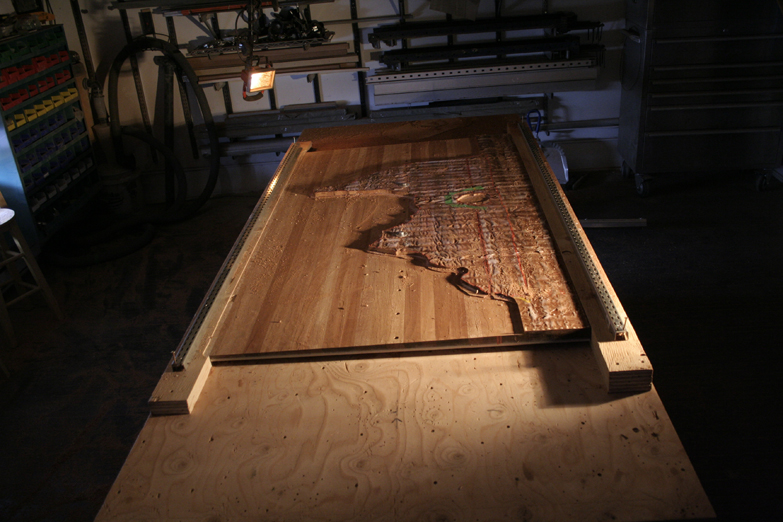
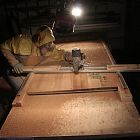 First cuts on the sky.
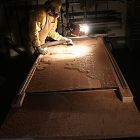 Vacuuming the first cuts on the sky.
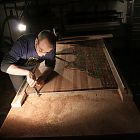 Measuring the depth of the first cut.
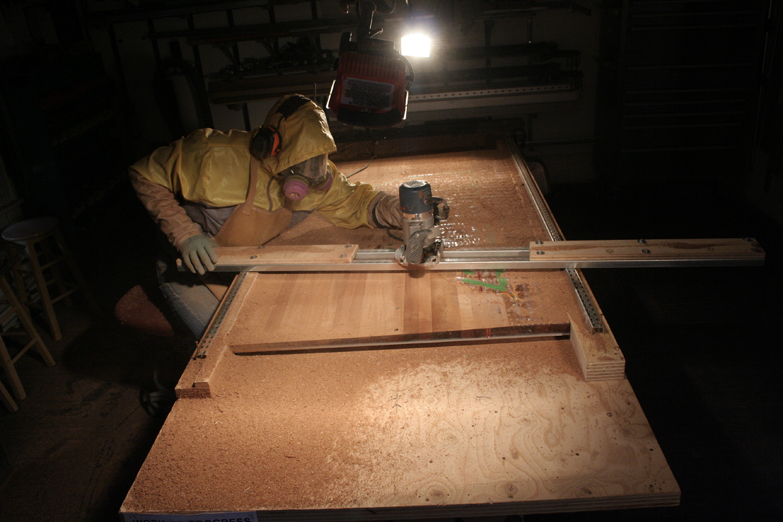
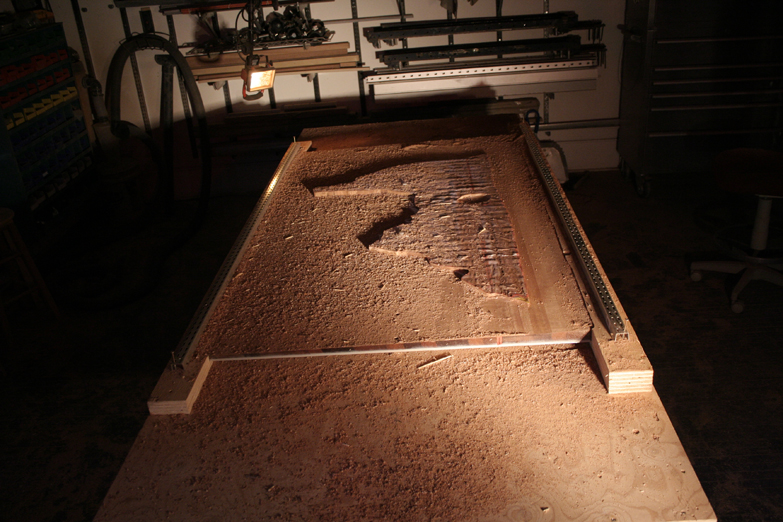
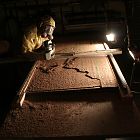 Round two ... going deeper.
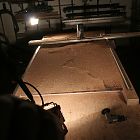 The sky may just be done.
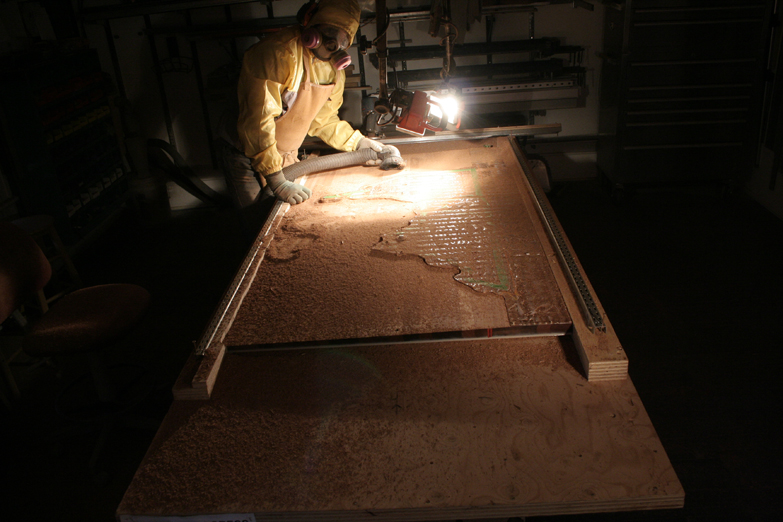
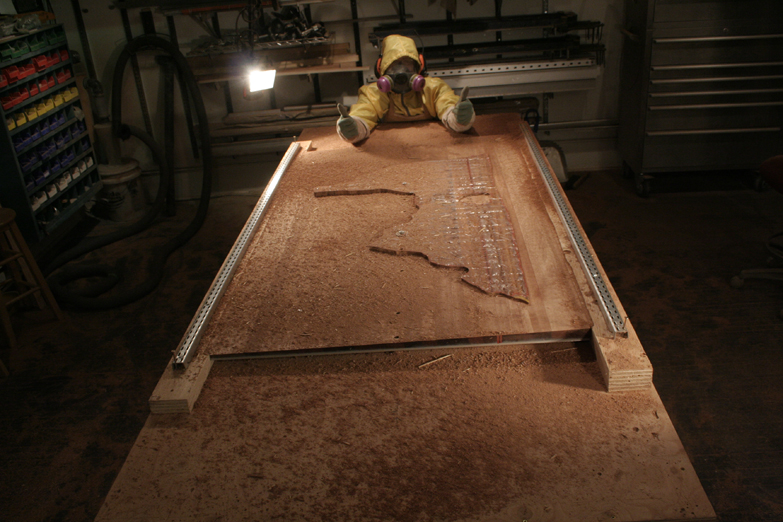
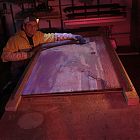 Vacuuming to see if it's a deep enough cut before moving on.
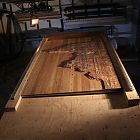 Nice work.
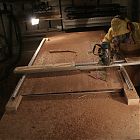 Now for the water.
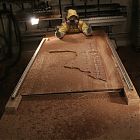 Yep - Stu's happy with the depth.
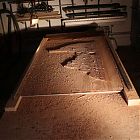 Sky meets water, and now to start carving the iceberg.
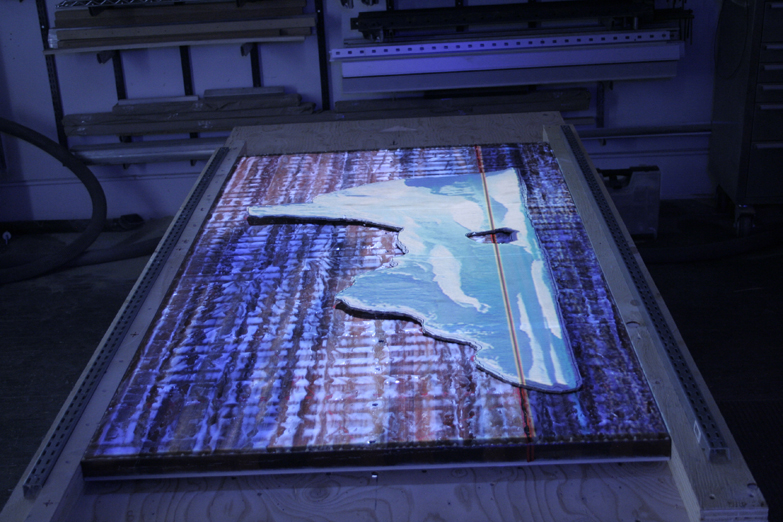
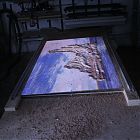 Image superimposed on the carving.
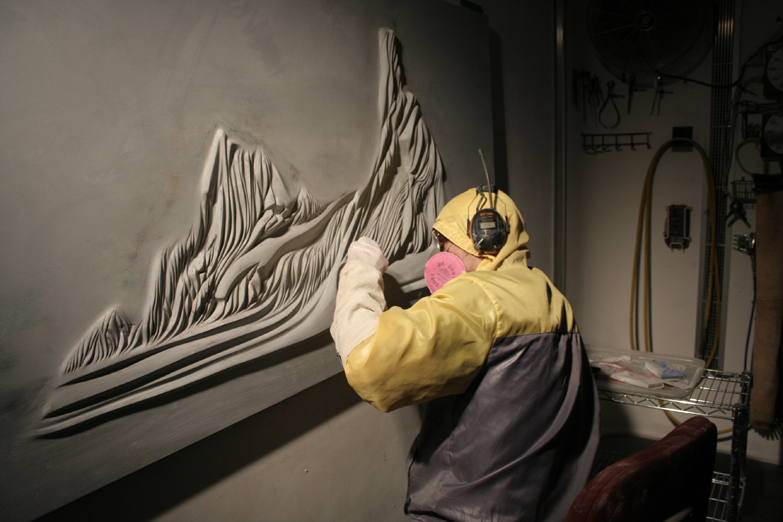
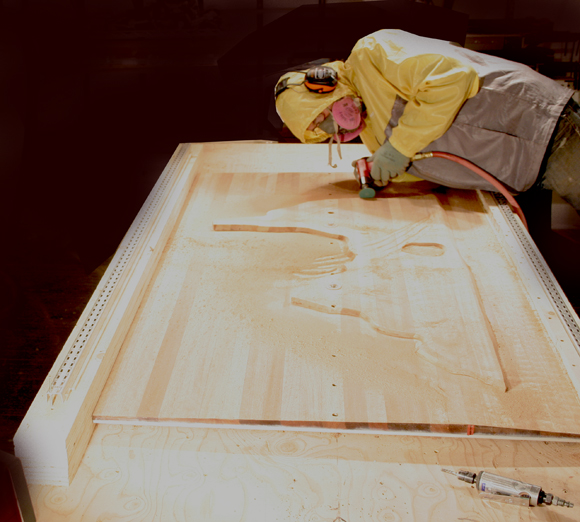
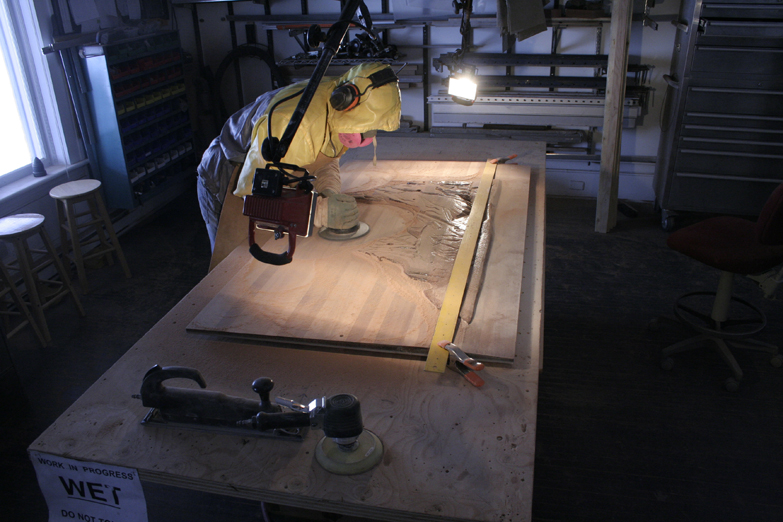
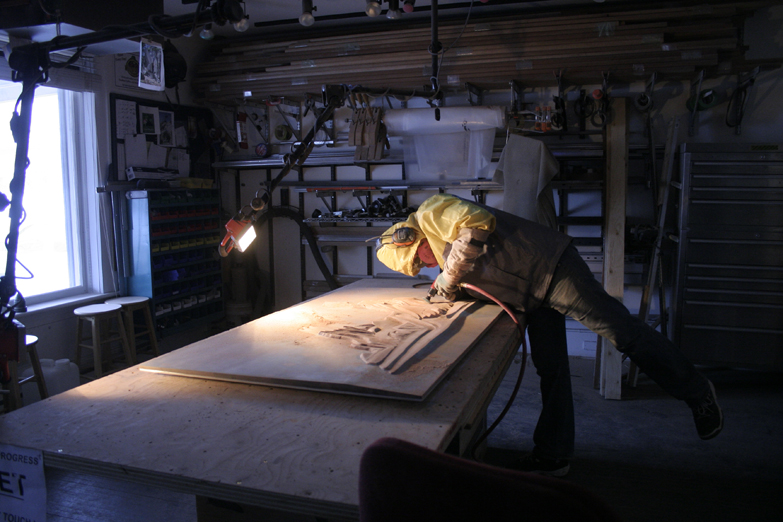
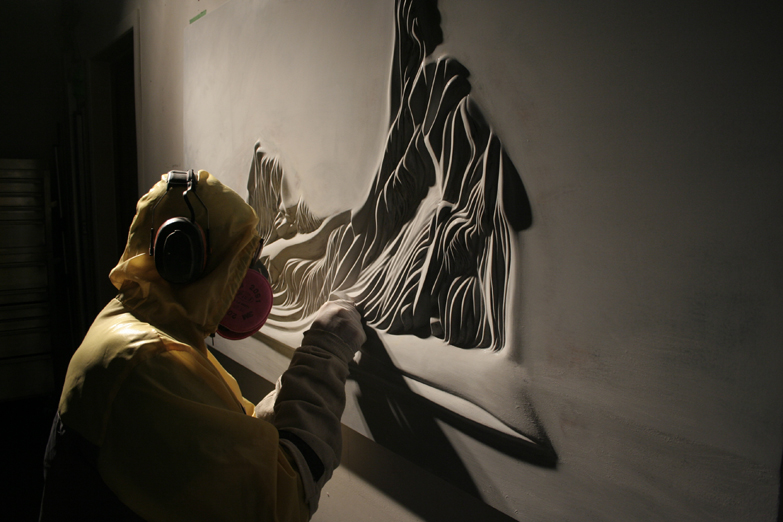
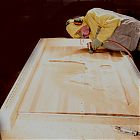 Stu sanding out carving of the iceberg.
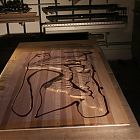 End of day carving so will start coating the piece with epoxy.
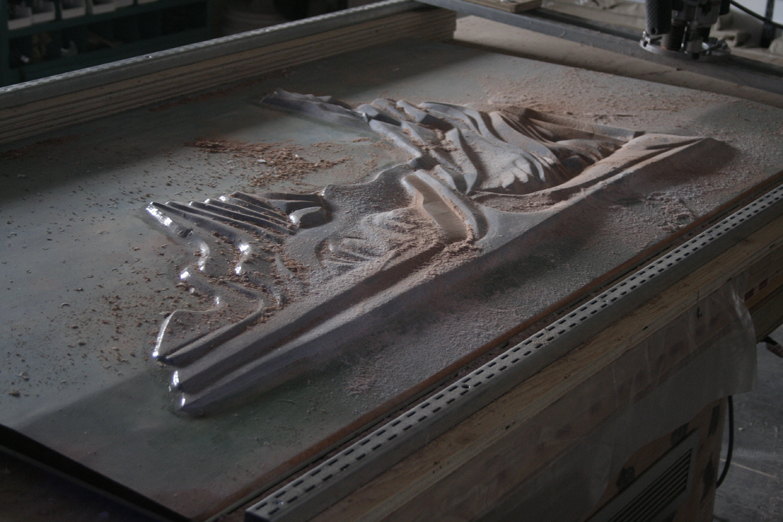
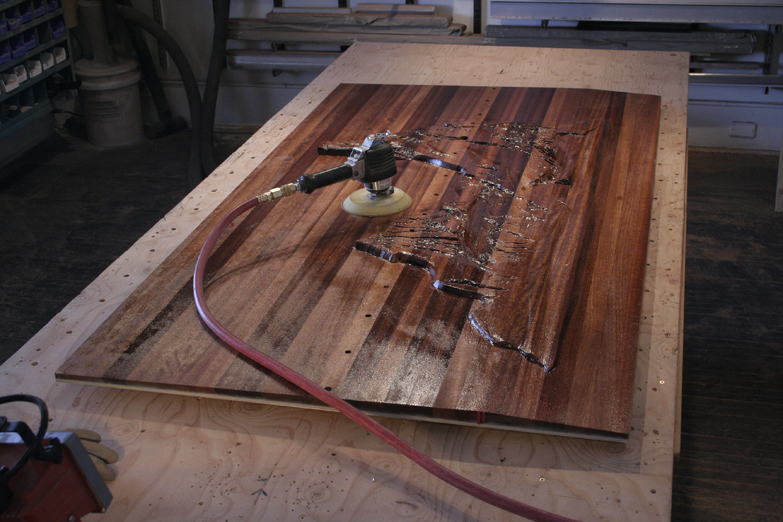
 Epoxy coating on sky and water leaving iceberg proud.
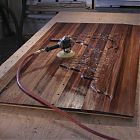 Ready to start sanding again.
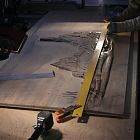 Easy part sanded ... now for the detail sanding.
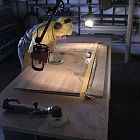 Stu sanding.
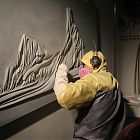
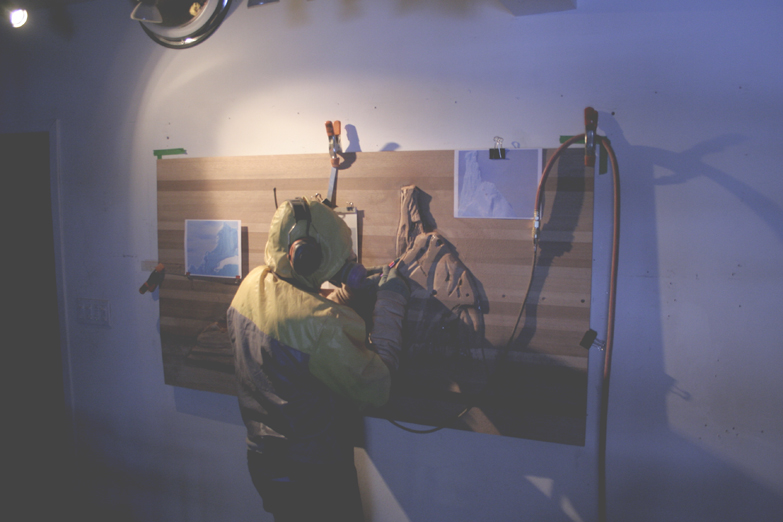
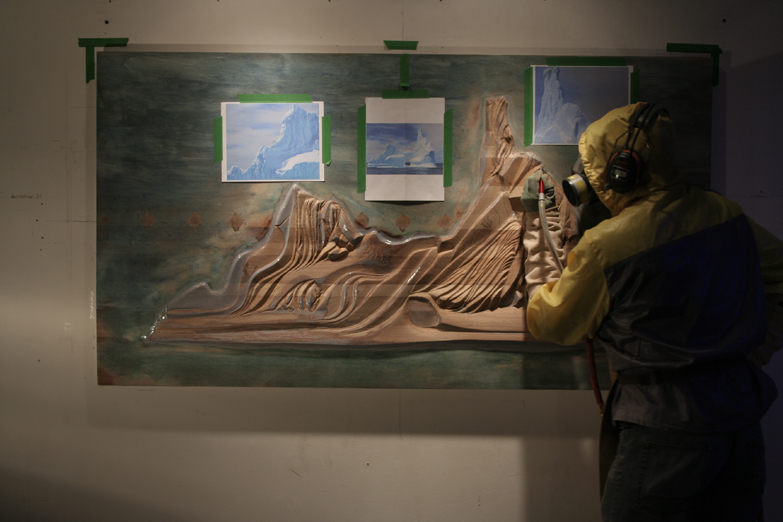
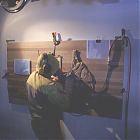 Stu detail sanding while on the wall. Not as 'back-breaking'.
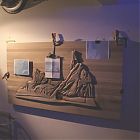 Installing on the wall allows Stu to step back and see his work. Great job so far Stu!
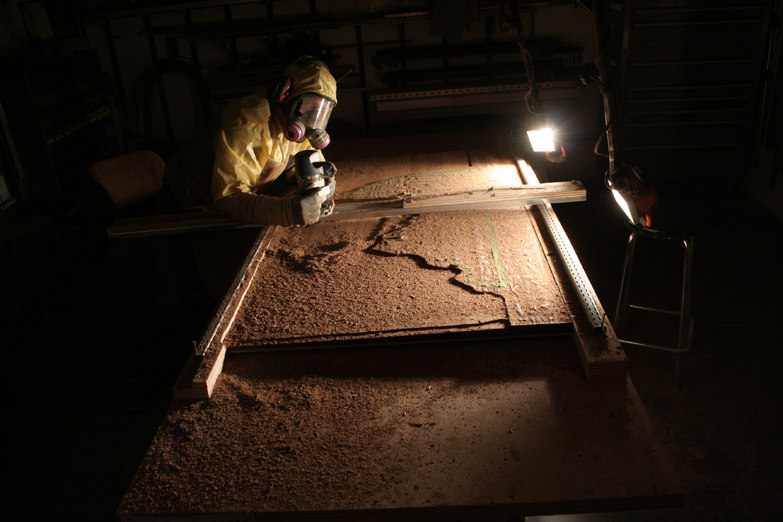
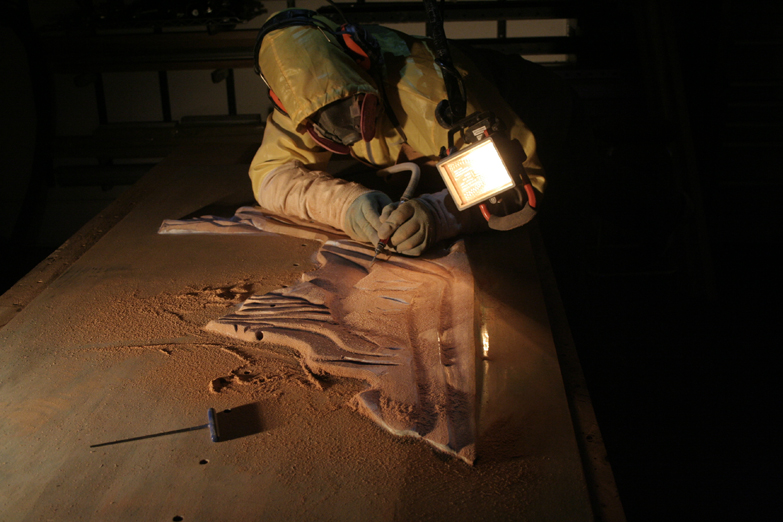
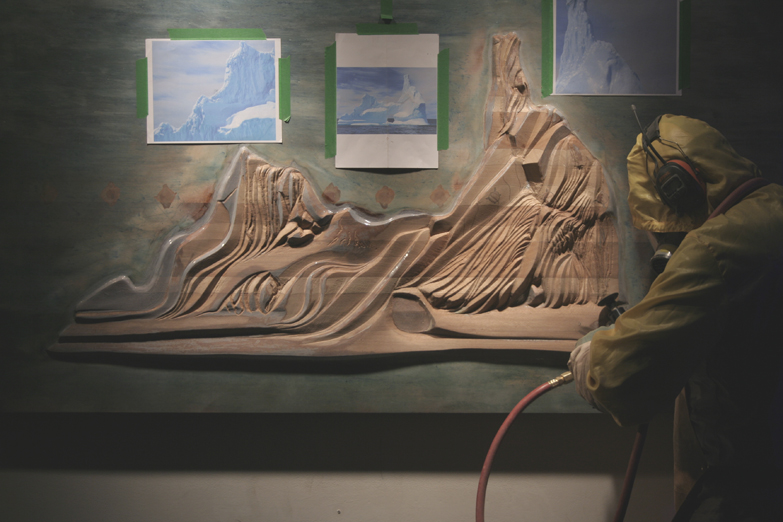
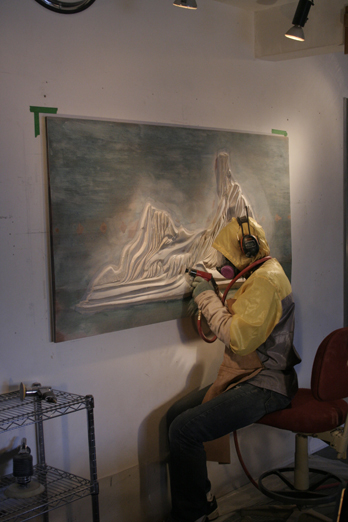
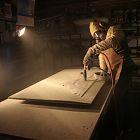 Back on the table, Stu sandblasts to rough sand the smaller areas.
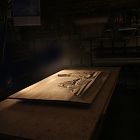 Nice profile.
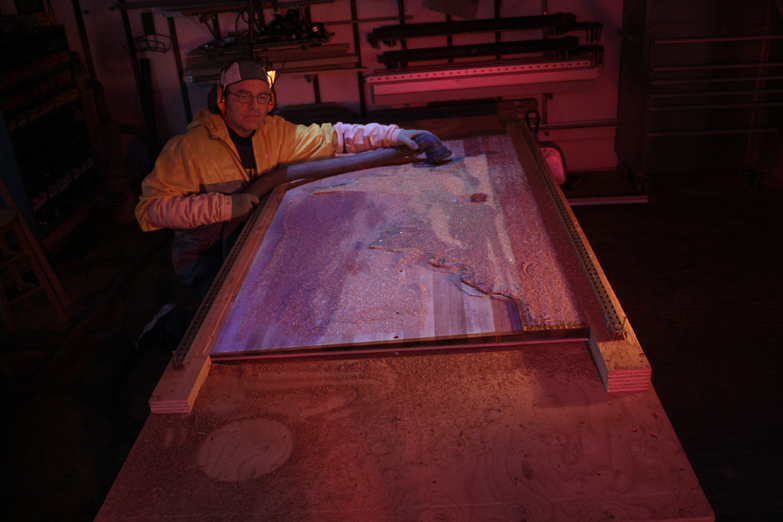
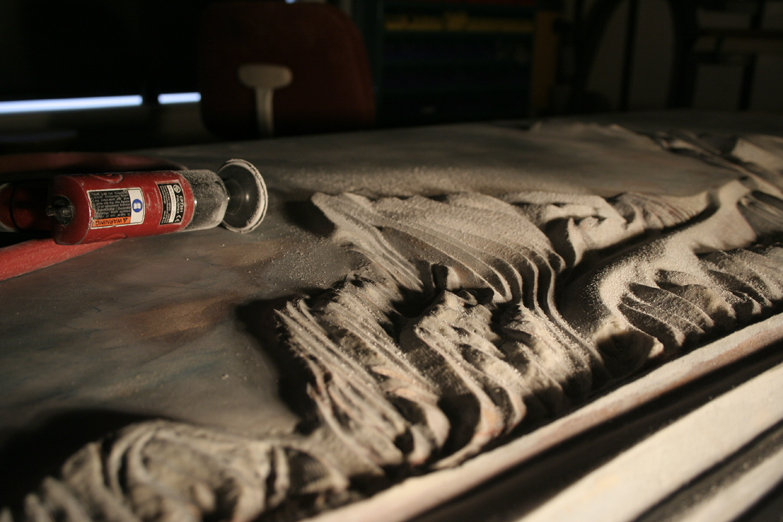
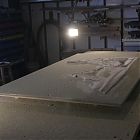 Fine sanding the piece with sand.
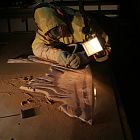 Stu shaping the carving.
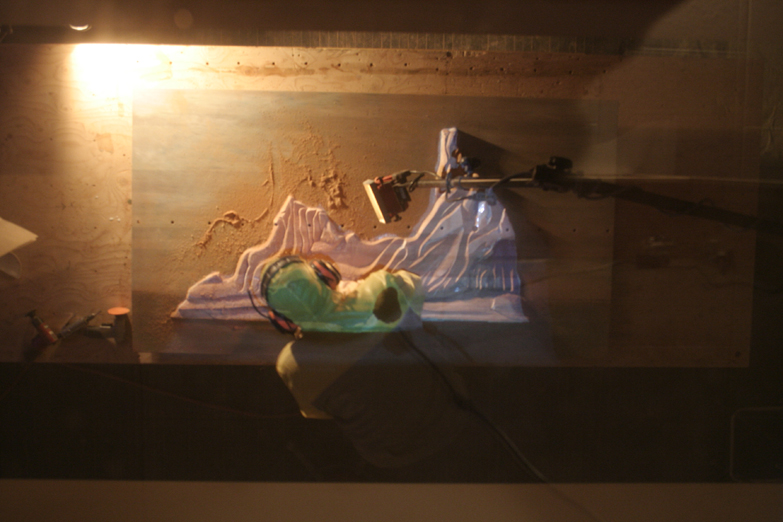
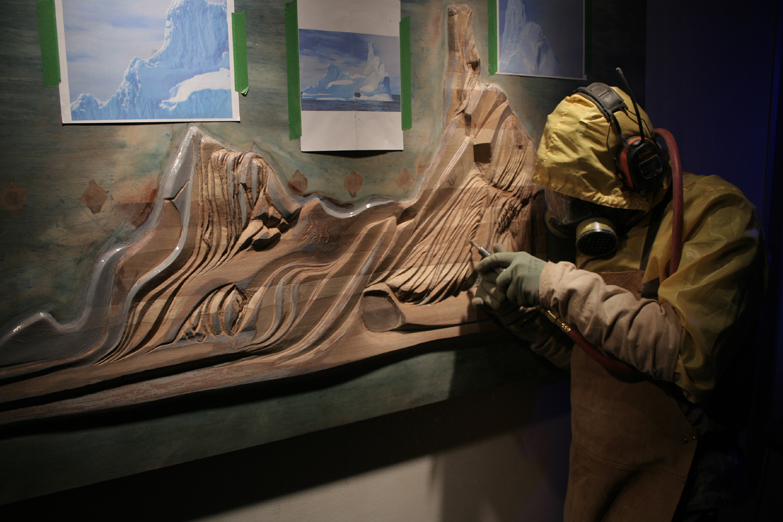
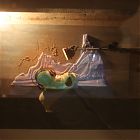 Stu carving - taken from the projector room.
 Stu shaping and carving.
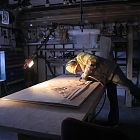 Stu carving refining carving of Iceberg.
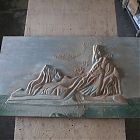 Refining the carving.
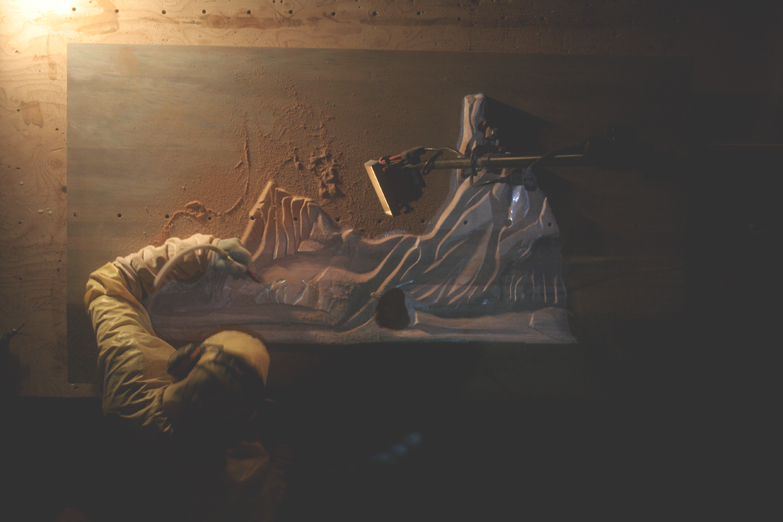
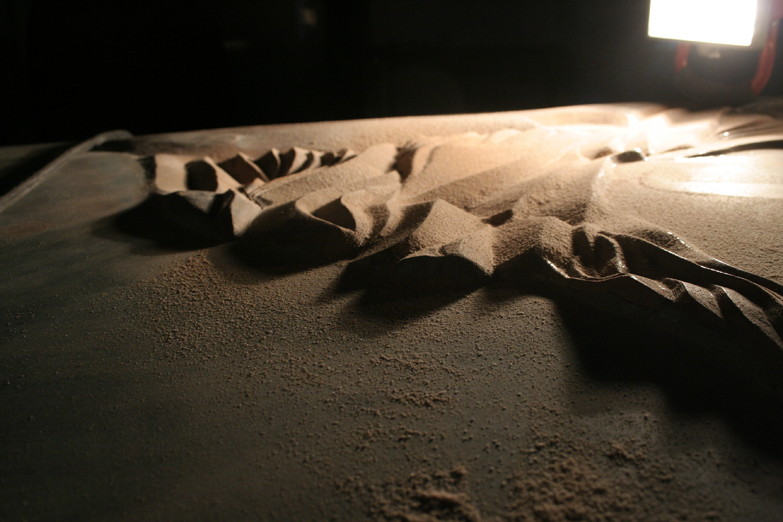
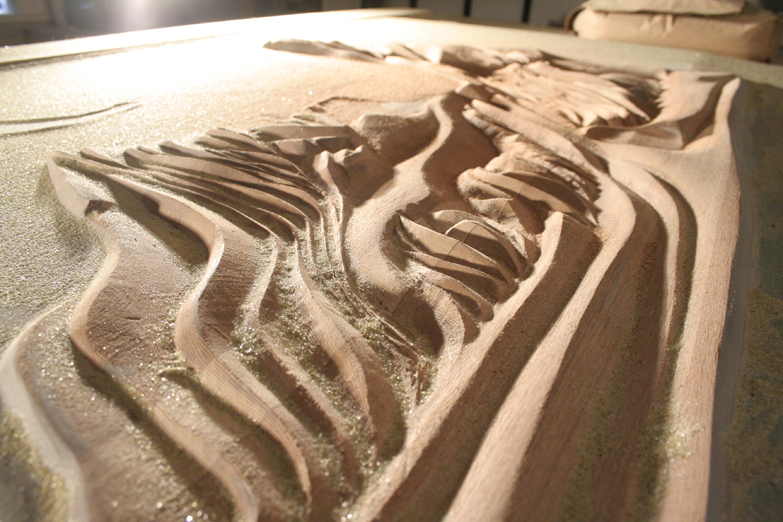
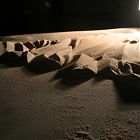 Carving peaks and valleys of the Iceberg flow.
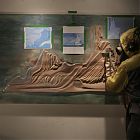 more carving detail before it softens.
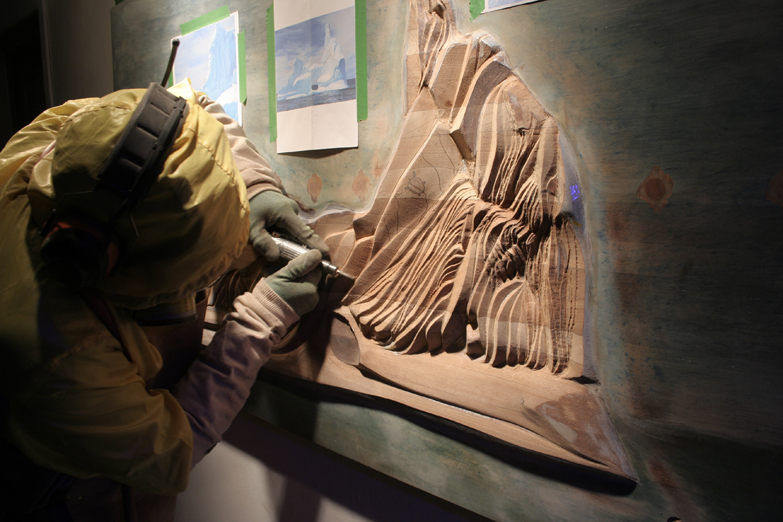
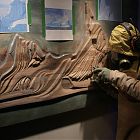 Fine detail work.
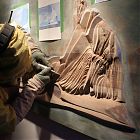 Getting in all the nooks.
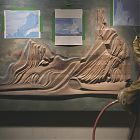 Sanding.
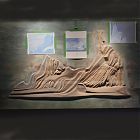 Iceberg hazed in.
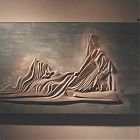 Iceberg, Carving, Work in Progress
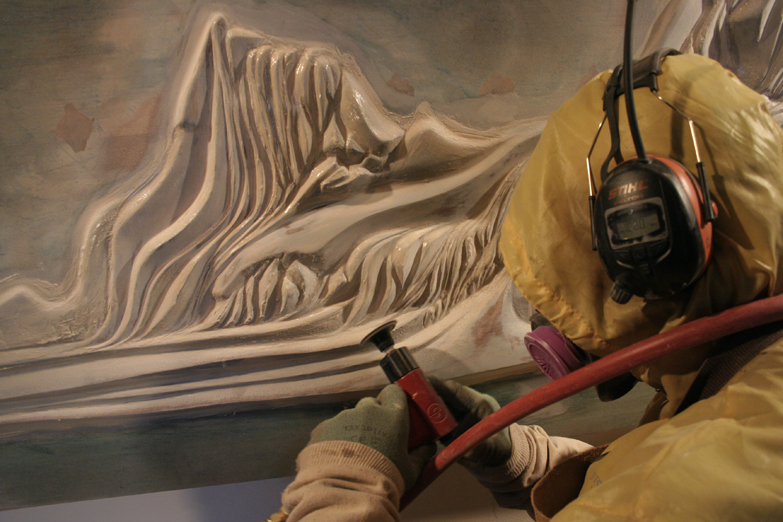
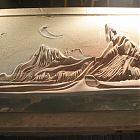 Iceberg getting sandblasted between coats of epoxy.
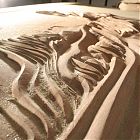 Closeup of smoothenin edges from sandblasting and hand sanding.
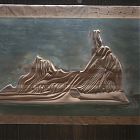 After vacuuming the sand off.
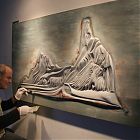 Stu applying the many layers of coatings to start to get the rounded edges.
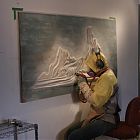 Final detail shaping.
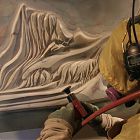 Final shaping of the last heavy resin coatings.
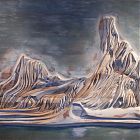 Shaping details of the left side.
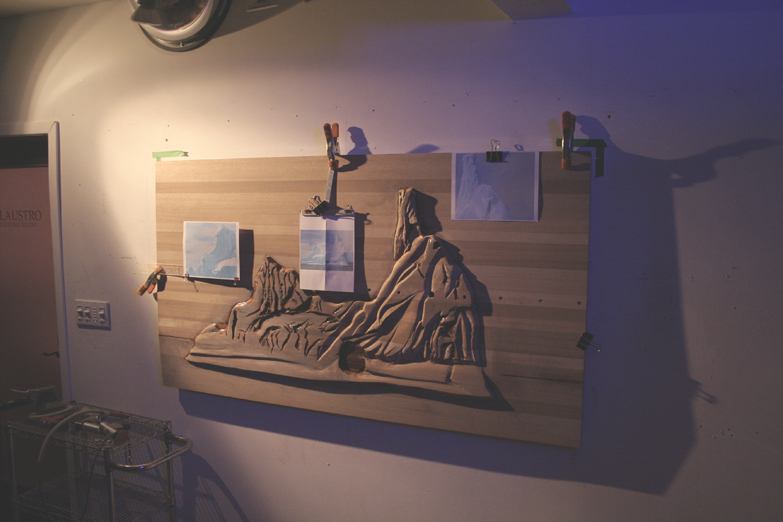
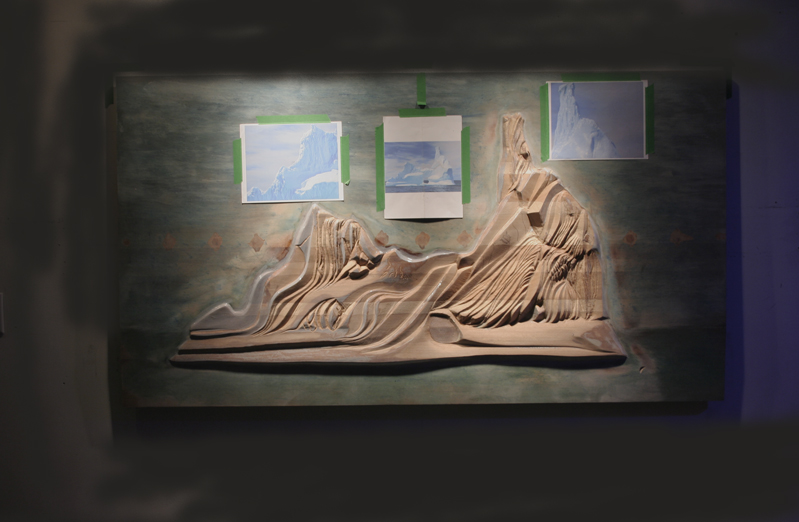
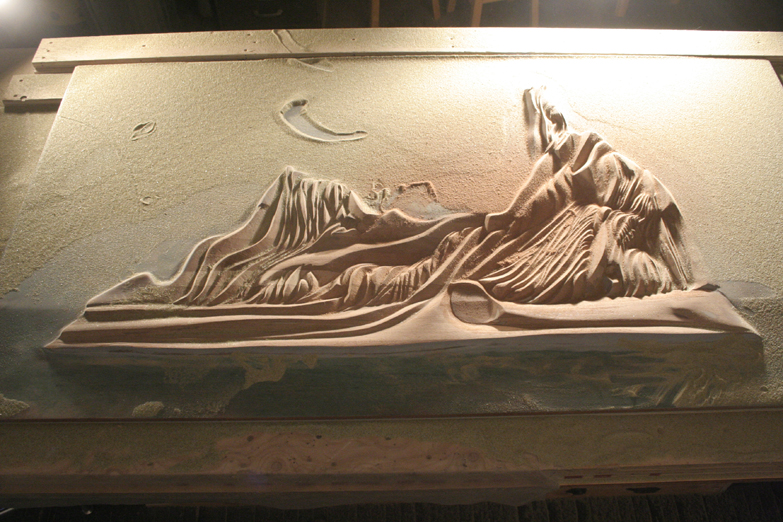
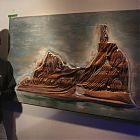 Final raw wood carving stage!
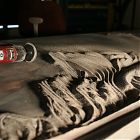 Closeup of carving right side.
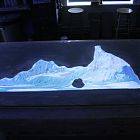 Superimposed photo on sculpture.
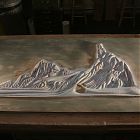 Last sanding, looking smooth!
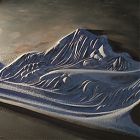 Closeup of carving left side.
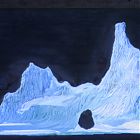 Superimposed photo onto the sculpture!
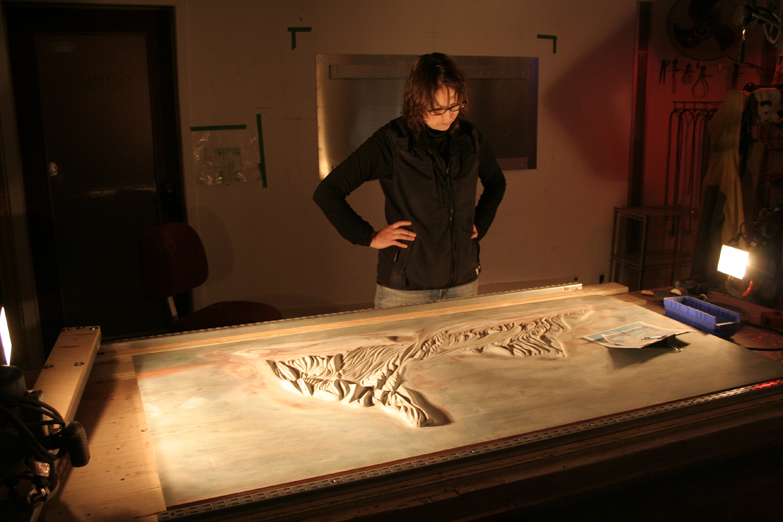
 Carol checking the sculpture out. "Okay, I approve. I think I can paint it.", says Carol. Of course I can, it's gorgeous!
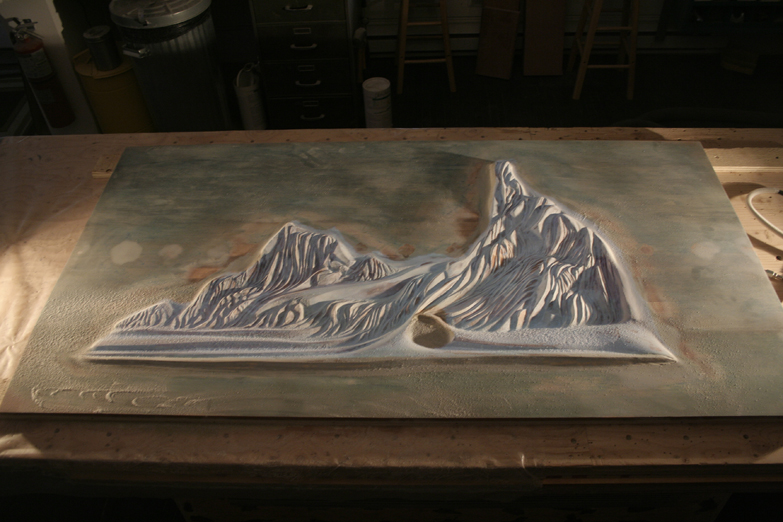
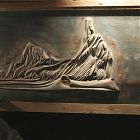 The LAST sanding coat. Looks awesome!
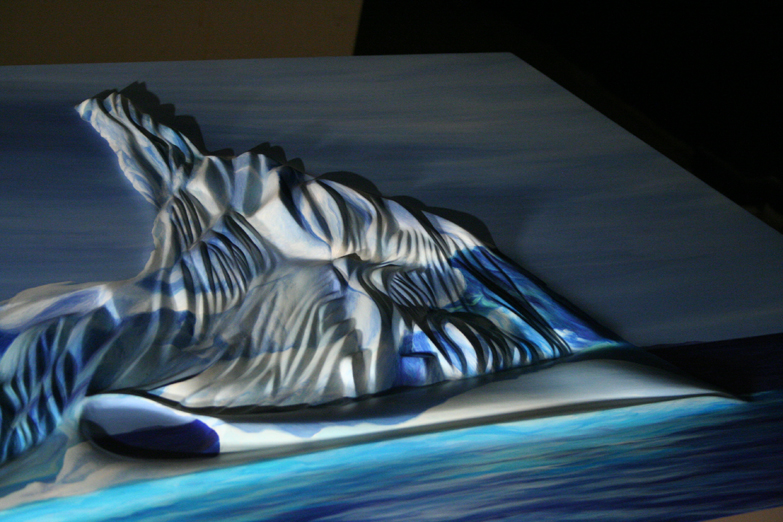
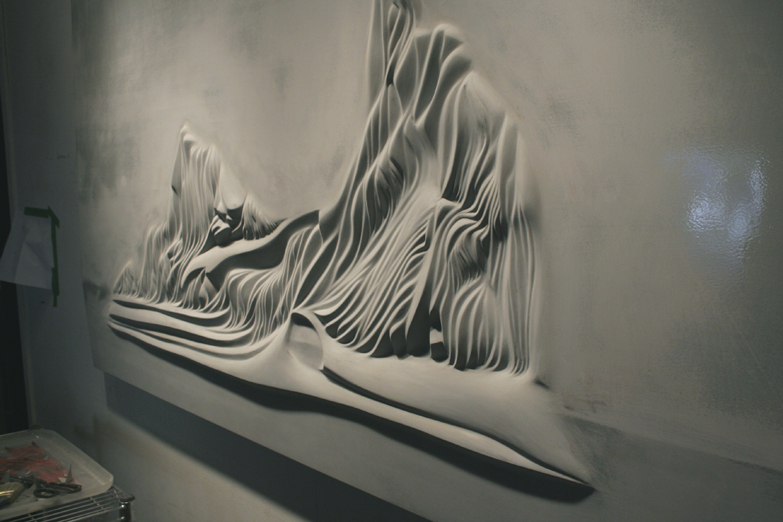
 Nice lighting - you can see all the beautiful shapes.
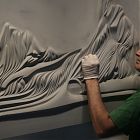 No Mask means last light sand. You did it Stu!
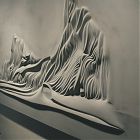 Seems that all that sanding and coating created more beautiful shapes.
 Stunning. I can't wait to paint it.
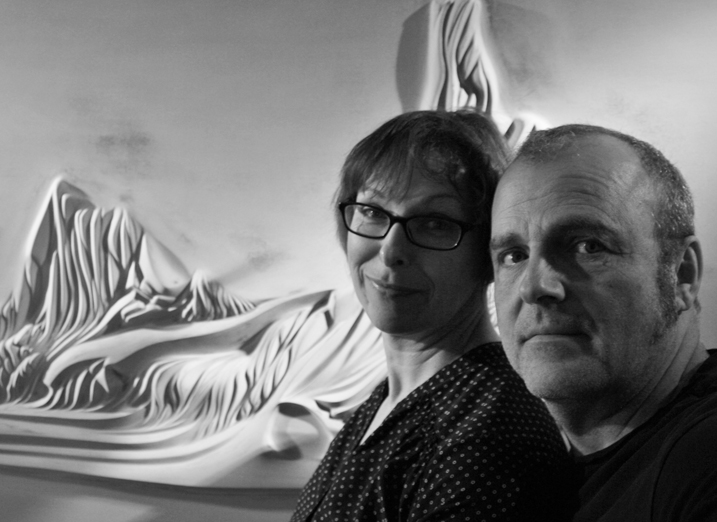
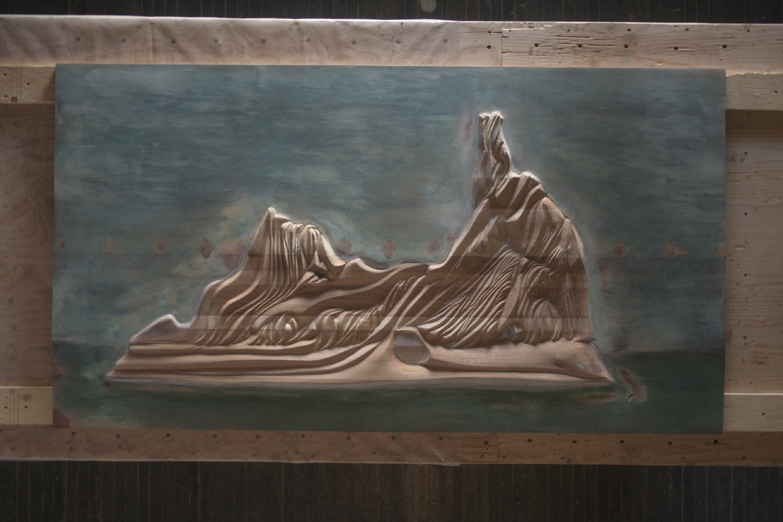
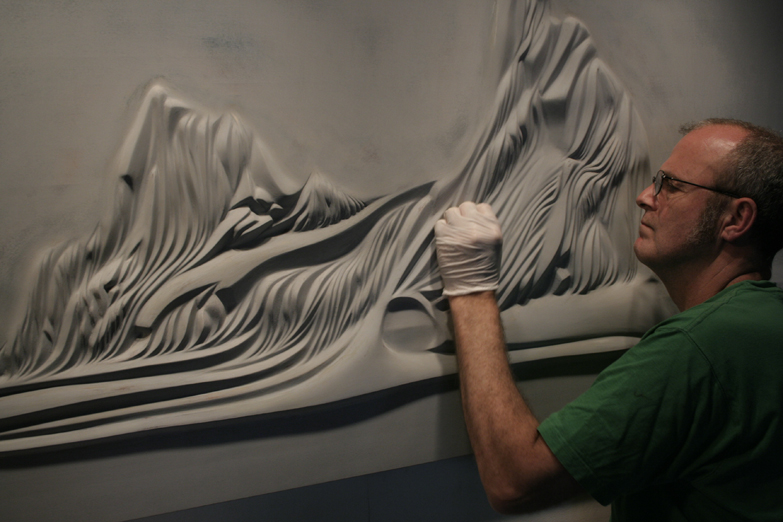
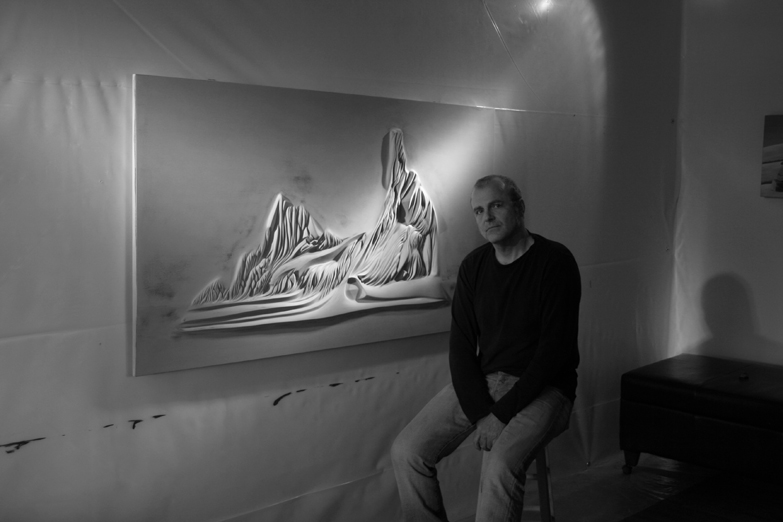
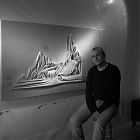 Stu Leggett beside his Newfoundland Iceberg (#076 - 1" x 36" x 66"). Pictured sculpture is completed but awaiting paint.
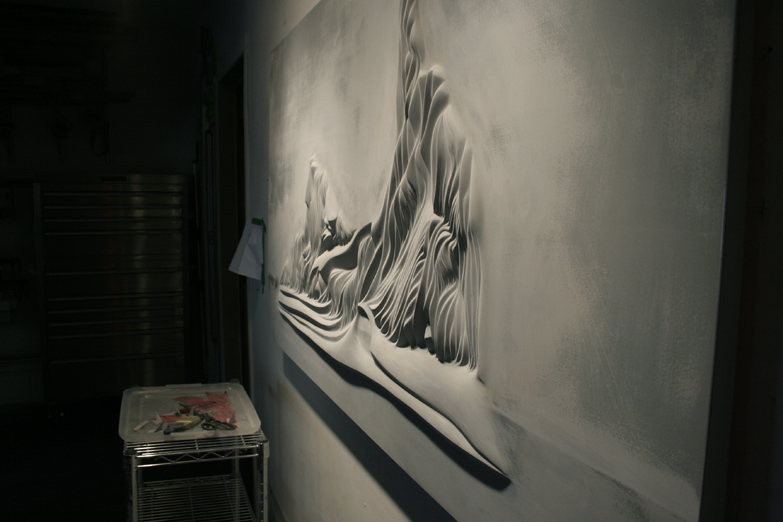
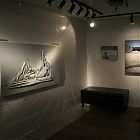 Iceberg just before painting in Carol's Upper Gallery/Studio.
 Iceberg just before painting in Carol's upper gallery/studio.
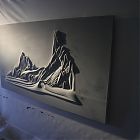 Iceberg in Carol's Studio. HAPPY DAYS!!
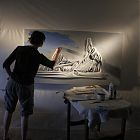 Here goes .......
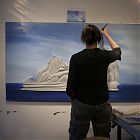 No stopping Carol now!
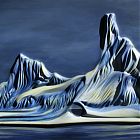 Iceberg
Acrylics on Studio Cast
10 x 20 $450 SOLD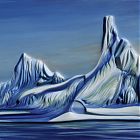 Ice
Ice
Acrylics on Sculpted Casting
10 x 20 $650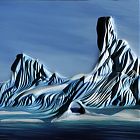 Iceberg
Acrylics on Studio Casting
10 x 20 $975 SOLD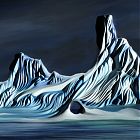 Iceberg
Acrylics on Studio Casting
10 x 20 $975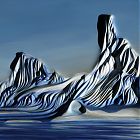 Iceberg
acrylics on Studio Casting
10 x 20 $975


Click thumbnail to enlarge each image